Connect Devin Desktop (formerly Windsurf) to NocoDB
Devin Desktop works with NocoDB through the NocoDB MCP server. You add NocoDB as a new MCP and sign in to NocoDB in your browser, or you give Devin the URL and token of an MCP connection. Windsurf was renamed Devin Desktop in June 2026. In NocoDB, its tab is still called Windsurf.
| Devin Desktop | |
|---|---|
| Type | Desktop |
| How it connects | New MCP in Customize > MCPs, over HTTP, with OAuth or a token |
| You need | An MCP connection for the token method |
Devin Desktop connects to the /mcp-discovery endpoint. That endpoint lists most read tools and the record create, update, delete, link and unlink tools, and gives Devin the rest on request. Refer to Clients that cap the tool list.
Connect with OAuth
-
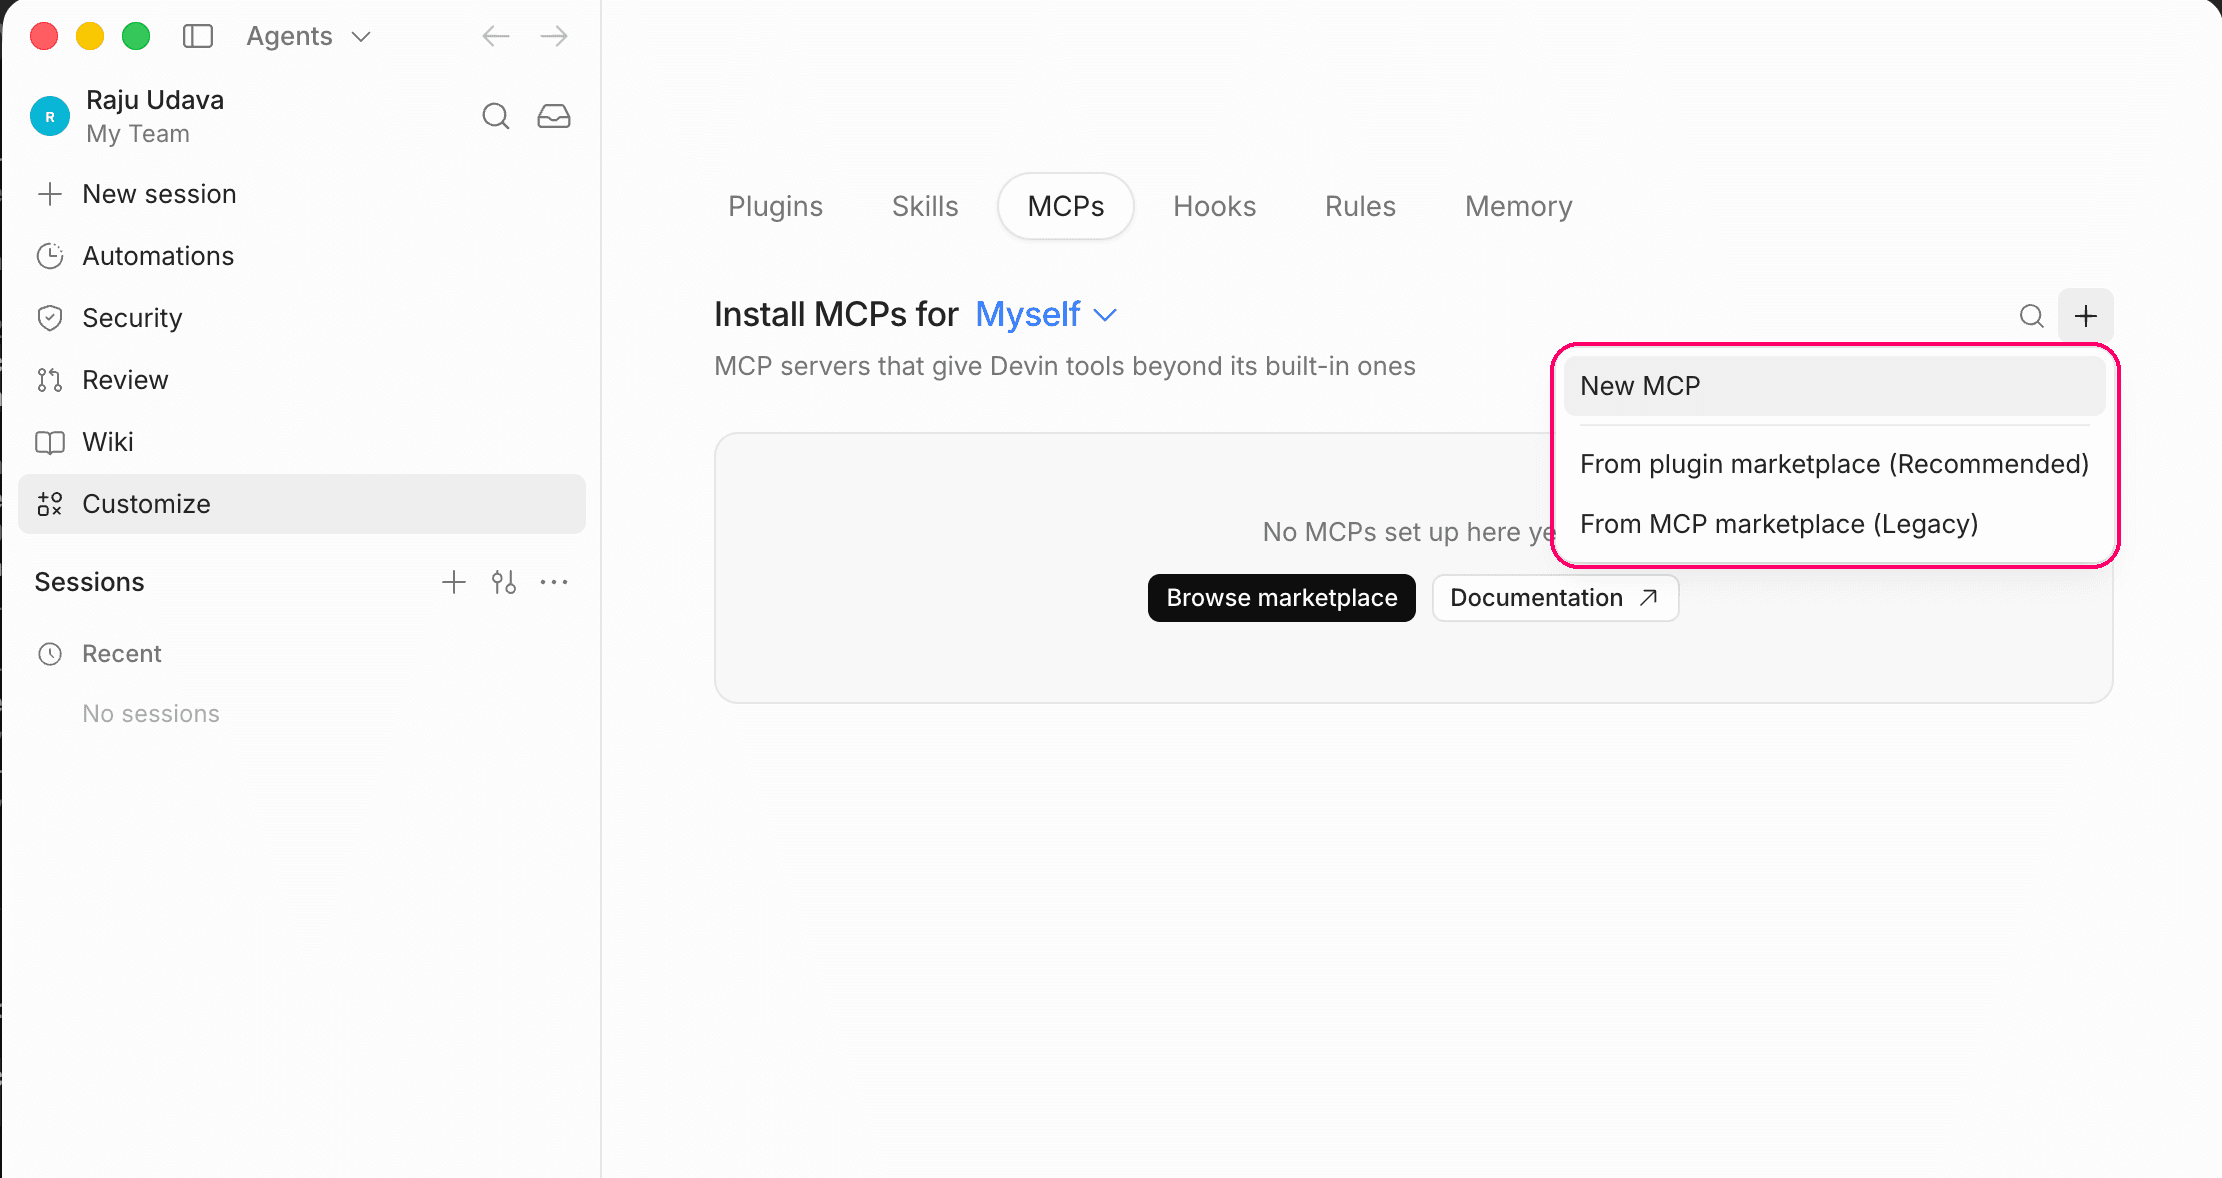
In Devin Desktop, select Customize in the sidebar, then open the MCPs tab.
-
Click + and select New MCP.
-
Enter
nocodbas the Server name. -
Below Connection, set Transport type to HTTP, Server URL to
https://app.nocodb.com/mcp-discoveryand Authentication to OAuth. Click Add.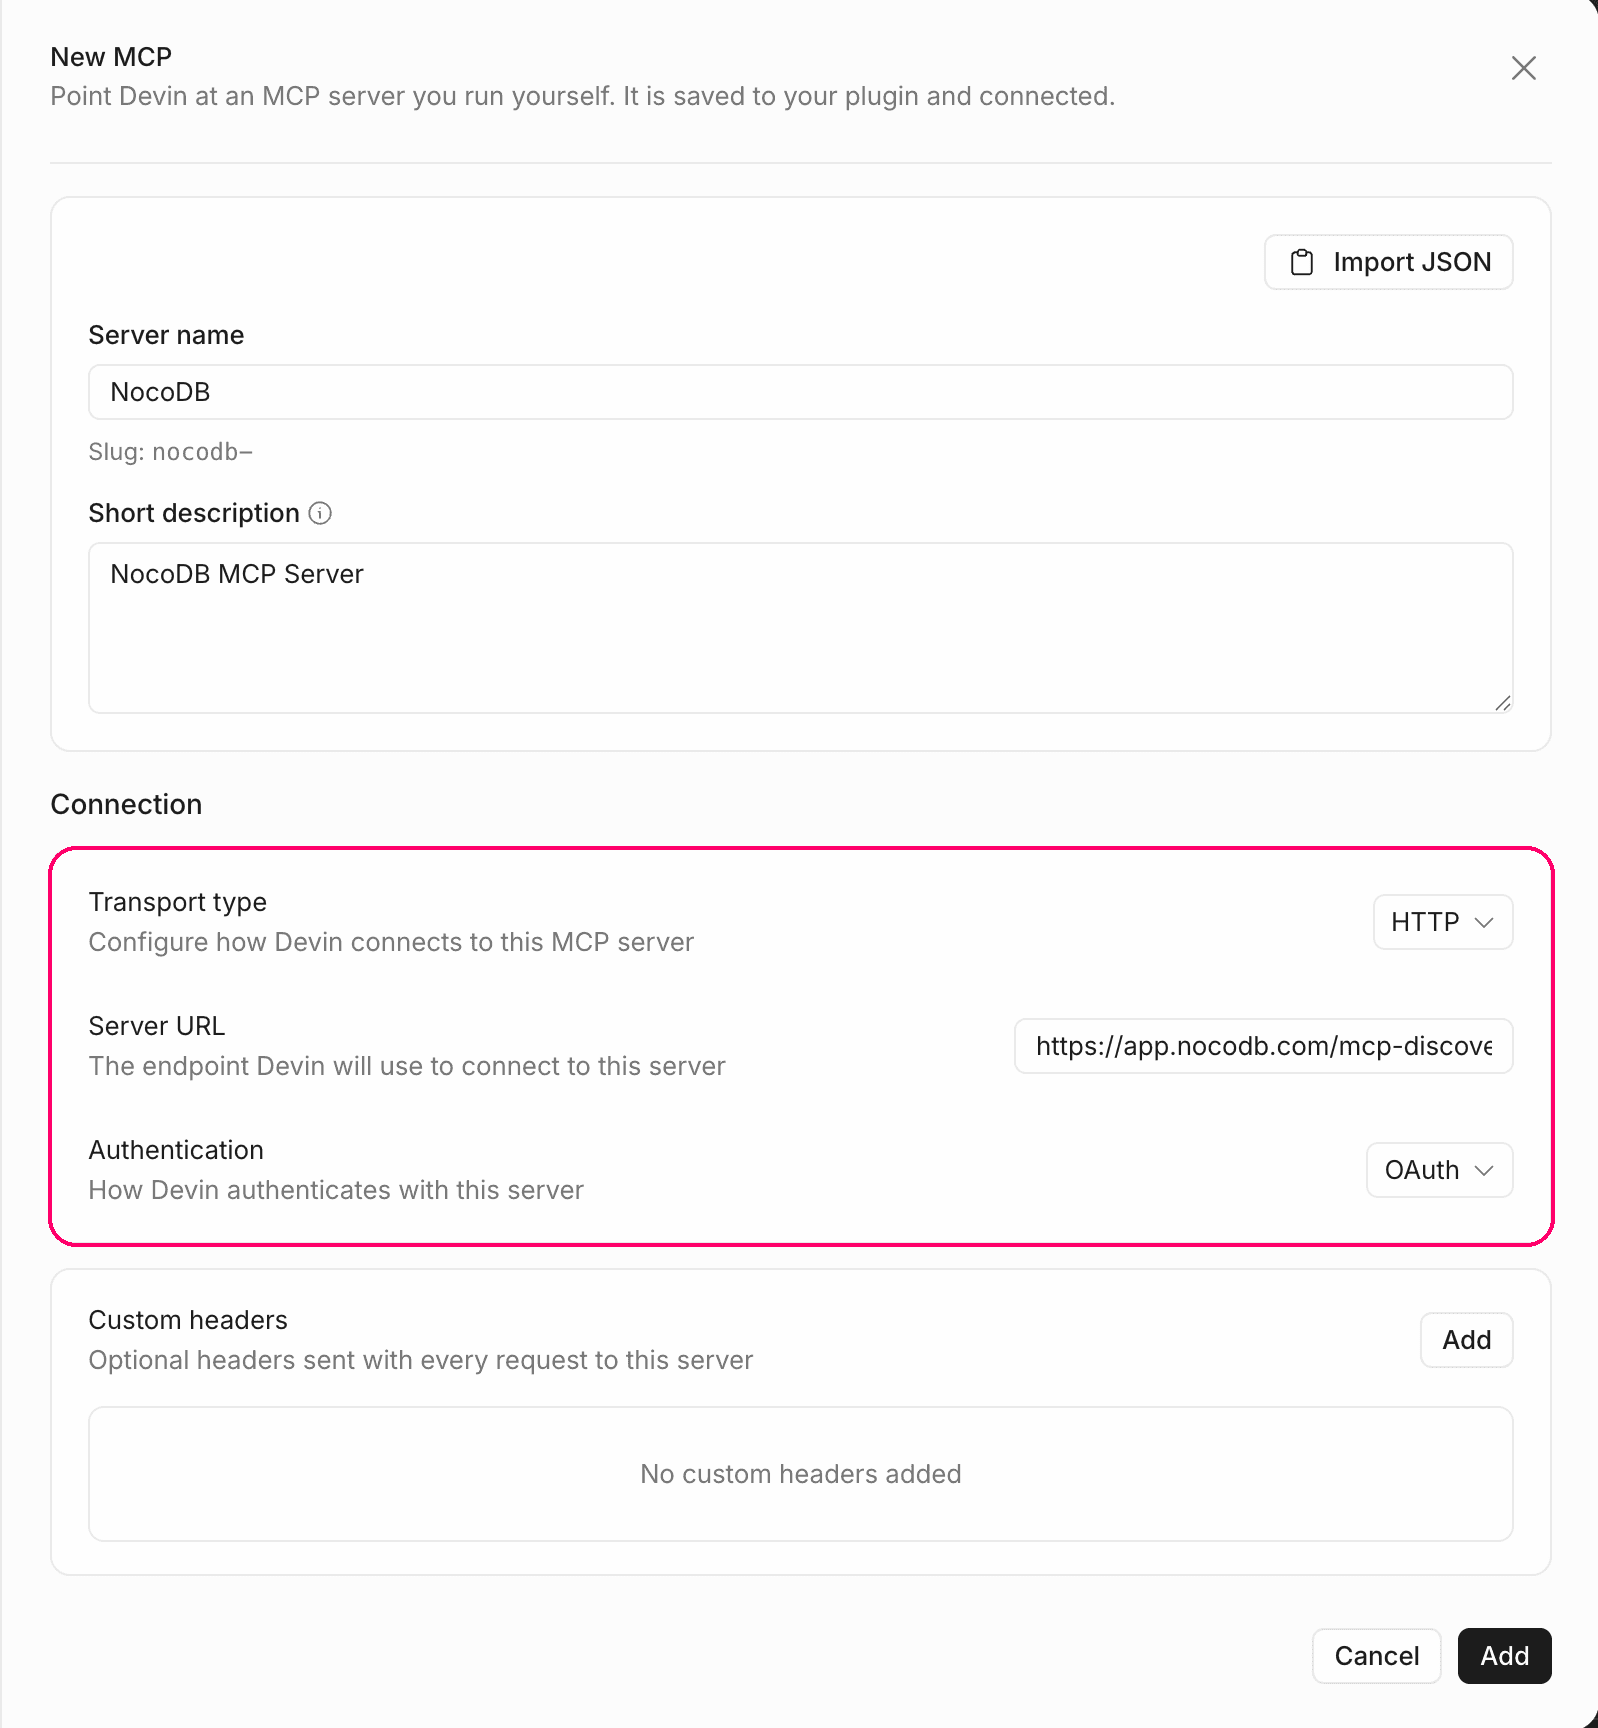
-
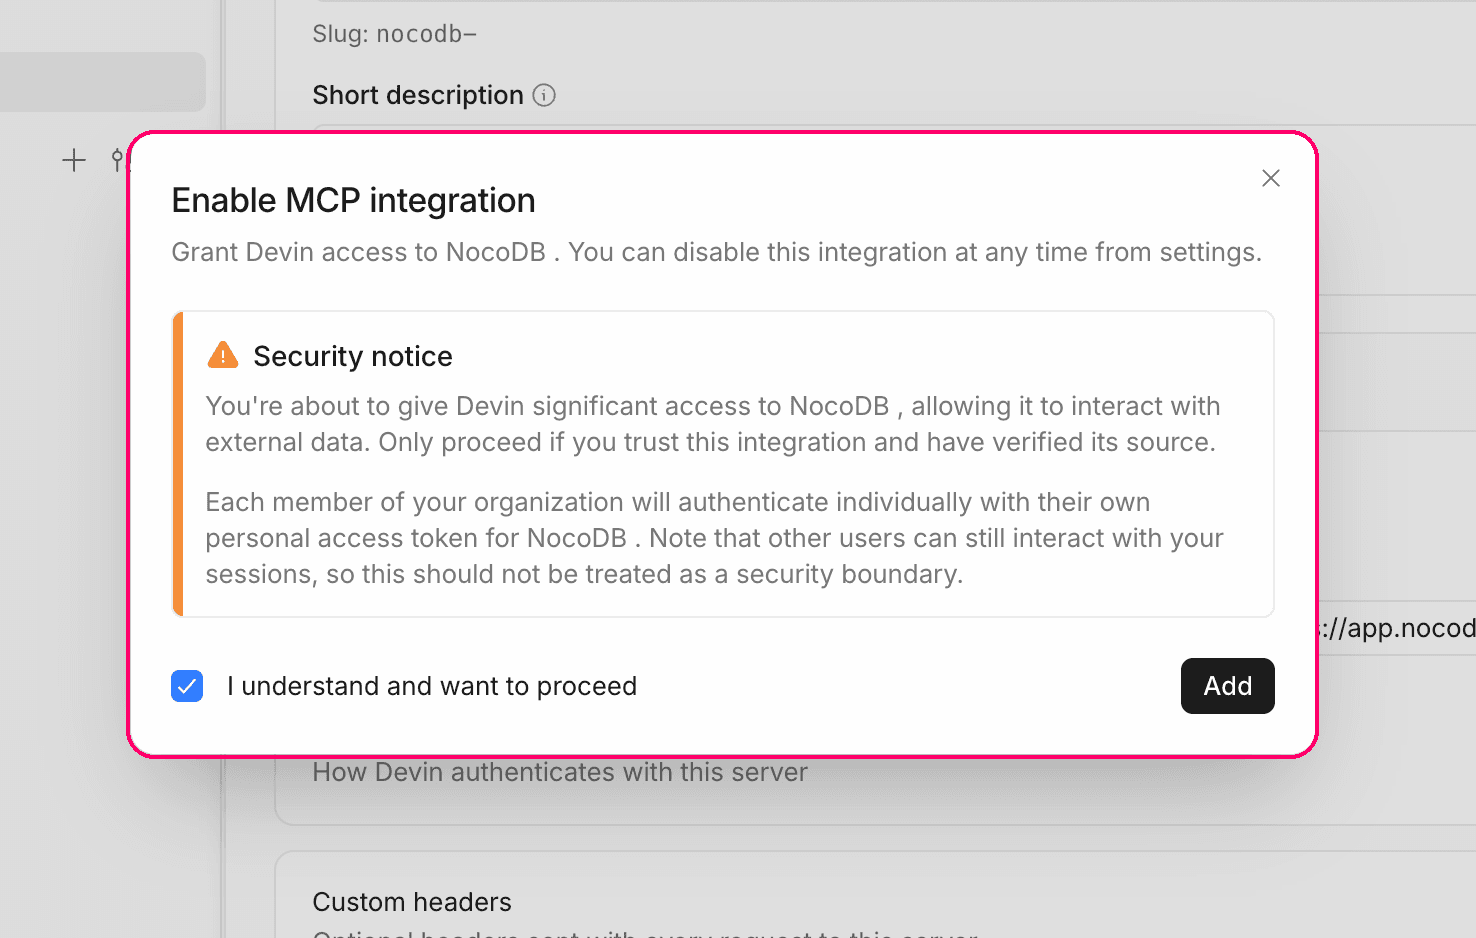
In Enable MCP integration, select I understand and want to proceed, then click Add.
-
Devin asks to open the NocoDB authorization page in your browser. Click Open.
-
Sign in to NocoDB if it asks you to. Below Access, add the projects that Devin can reach. Below Tools & Permissions, allow the tools that it can call. Click Authorize.
-
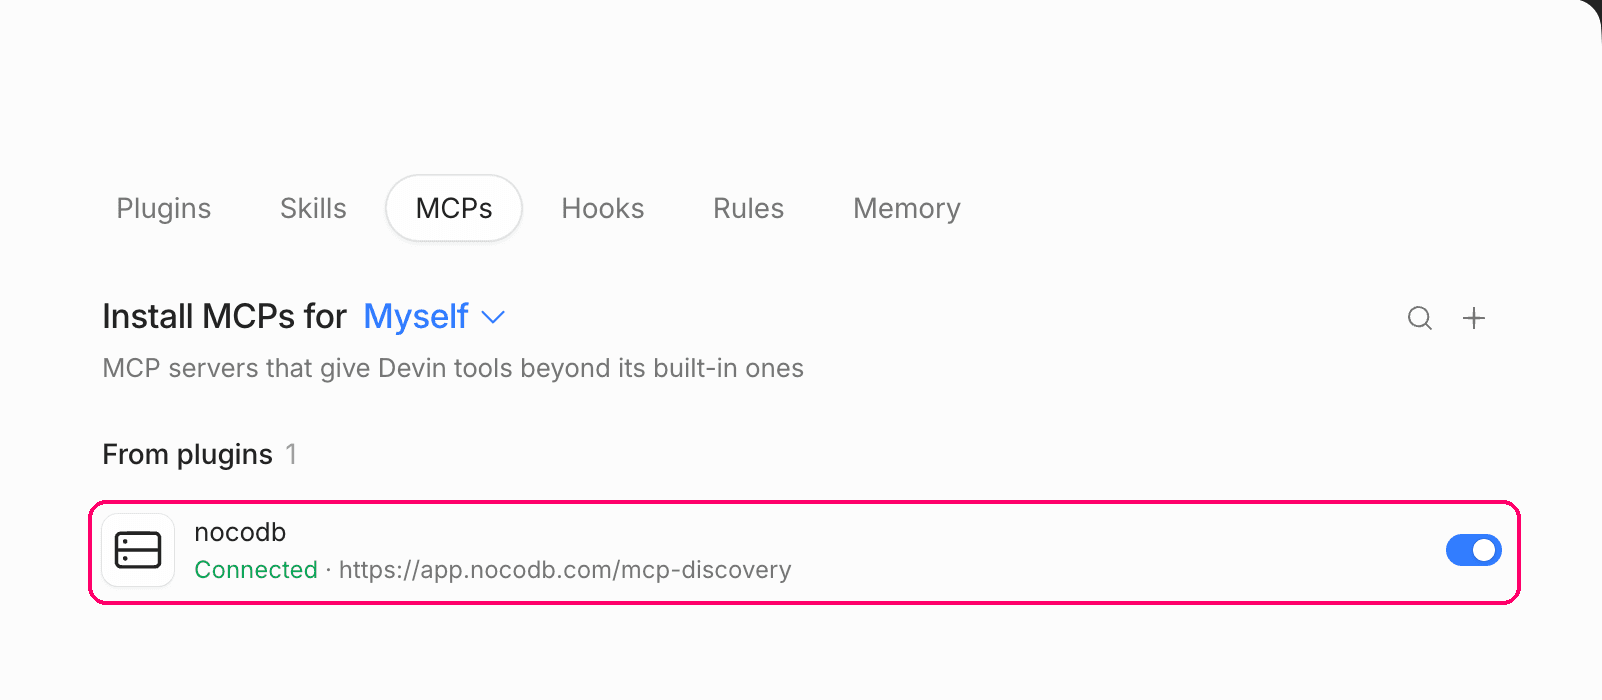
On the MCPs tab, nocodb shows Connected. To see its tools, open it and click Test next to Test tools.
On a licensed self-hosted deployment, use https://<your-nocodb-host>/mcp-discovery. The URL must be the public HTTPS address of your instance, set in NC_SITE_URL (or NC_PUBLIC_URL).
Connect with an MCP connection
Use an MCP connection when you want to pin Devin to the projects of one connection, or on the Community Edition, which has no OAuth.
- Create an MCP connection and open its Windsurf tab. The JSON block gives the connection URL (
serverUrl) and the token (x-api-key). - In Devin Desktop, select Customize > MCPs, click + and select New MCP.
- Enter
nocodbas the Server name. - Set Transport type to HTTP, Server URL to the connection URL and Authentication to None.
- Below Custom headers, click Add. Enter
x-api-keyas the header name and the token as its value. - Click Add. In Enable MCP integration, select I understand and want to proceed, then click Add.
NocoDB reads the token only from the x-api-key header. Do not use the Authorization header option of Authentication, because NocoDB ignores a token sent that way.
The connection URL has this form:
https://your-domain.com/mcp-discovery/<ncId>On the Community Edition, the connection URL is https://your-domain.com/mcp/<ncId>, because that edition gives the record tools only.
Related
Last updated on