Connections
Copy a prompt, paste it into NocoAI in any base, and replace the words in [brackets] with your own.
- Send a confirmation email through [Gmail] when a [booking] is created
- Let each user send messages from their own [Slack] account
- Read [orders] from our [Postgres] database
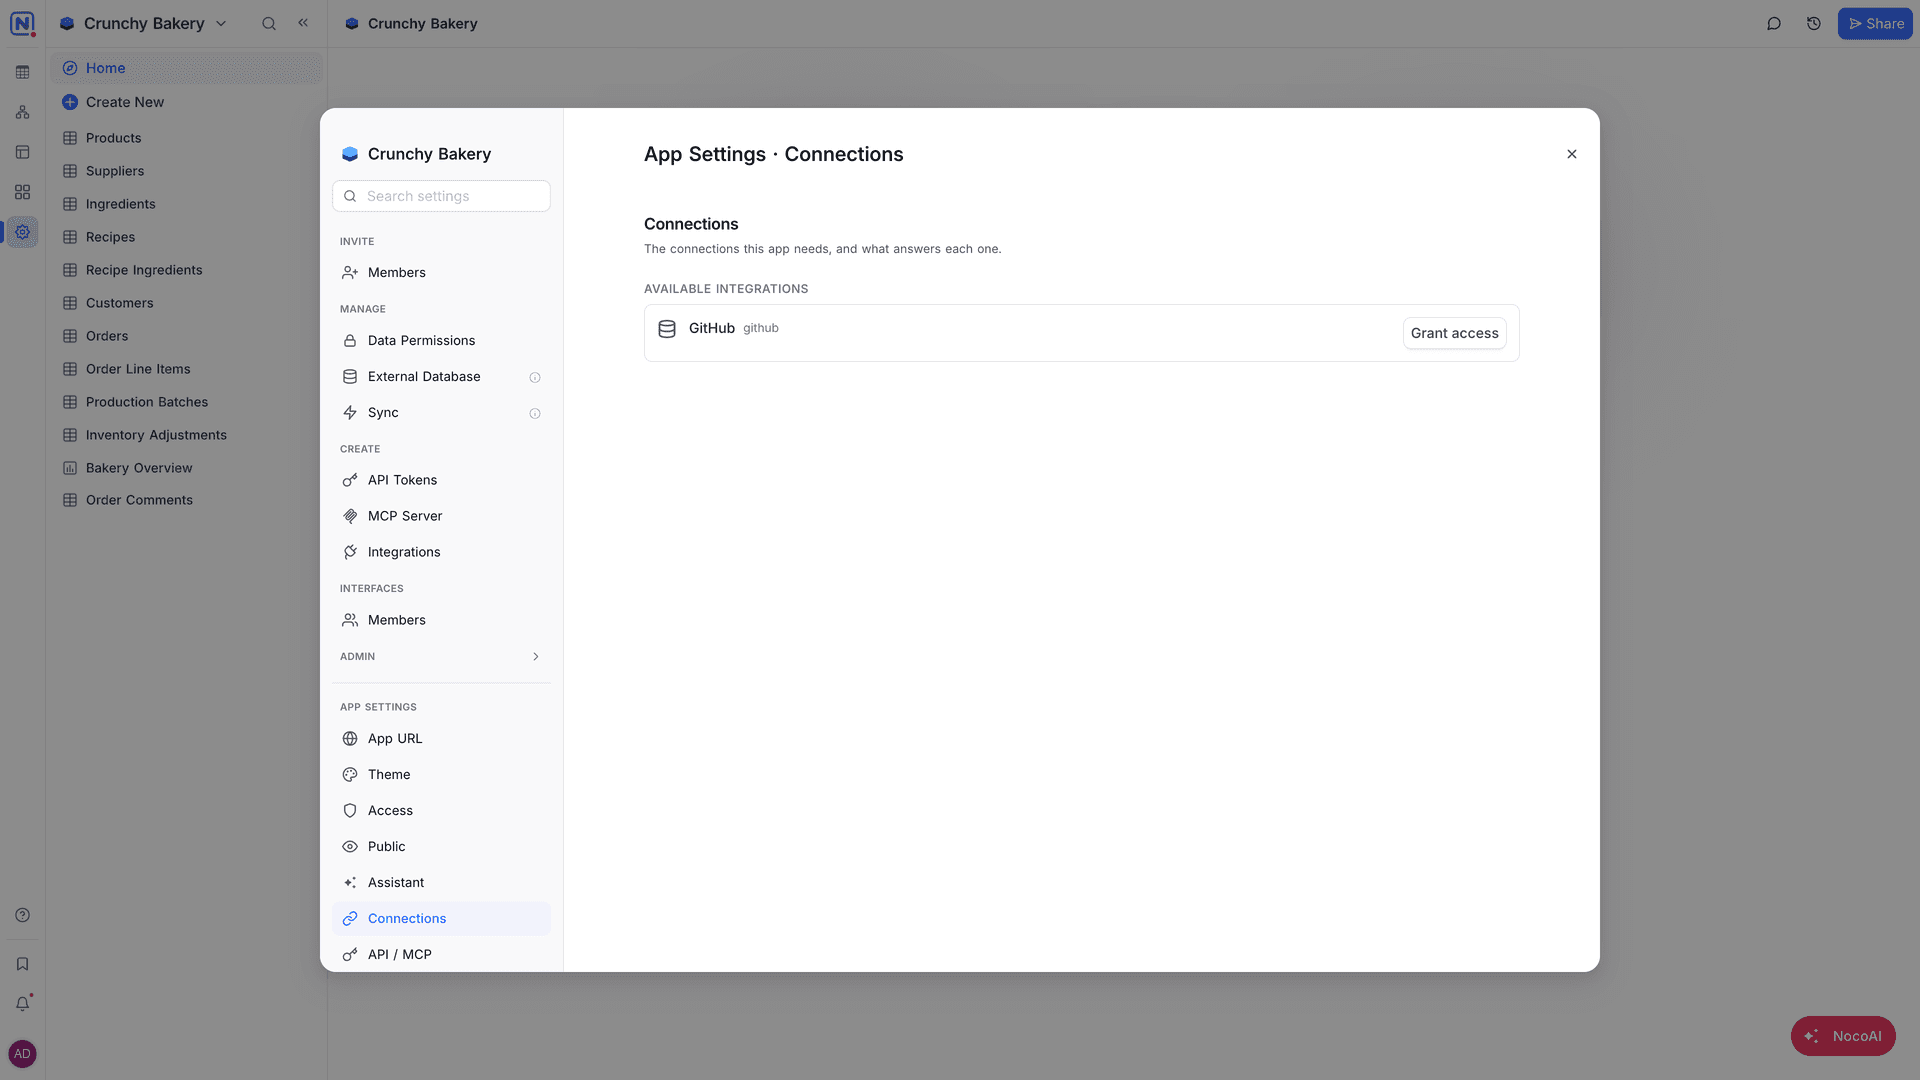
A NocoDB app uses connections to reach systems outside NocoDB: a PostgreSQL, MySQL or SQL Server database, any HTTP API, a SaaS app such as a helpdesk, a CRM or a chat tool, or a Redis cache. Through a connection, the app reads and writes that system live, with no sync or import first. Each connection the app needs is answered by an integration of the workspace. You manage them in App Settings → Connections: "The connections this app needs, and what answers each one."
How the app gets a connection
- You ask NocoAI for a feature that uses a service, for example "send a confirmation email".
- NocoAI declares the connection that the app needs. It shows in Connections this app needs.
- The app asks for access to a workspace integration. The request shows in Pending requests.
- Click Approve to give the app access, or Decline.
You can also give access first. In Available integrations, find the integration and click Grant access. To add a new integration to the workspace, click Browse integrations.
Connection types
Each connection that the app needs uses one of two types:
| Type | What it means |
|---|---|
| One shared account | All people who use the app use the same account. For example, every email goes out from one company address. |
| Each user's own account | Each person connects their own account, and the app acts as that person. For example, each salesperson sends email from their own mailbox. |
For Each user's own account, turn off Share credentials between users on the integration. Each person then connects their own account when the app asks. When a person has not connected their account, the app does not use a shared account in its place.
Manage connections
| To | Do this |
|---|---|
| Connect a connection that shows Not connected | Click Connect and select an integration. |
| Use a different integration | Click Change. |
| Add a connection | Click Add a connection. |
| Stop the access of the app | Click Disconnect, or Revoke on a granted integration. |
| Remove a connection the app no longer needs | Select Remove connection. "Actions that still use it must be deleted first." |
Connections marked Optional are not required for the app to work.
Good to know
- Keep API keys and passwords in connections, not in the pages of the app. Visitors can download the code of pages. See Public access.
- In an environment, each integration can use different settings, for example a test account in Staging.
Availability
- Connections that use One shared account are available on all plans that include Apps.
- Each user's own account is available on the Scale plan and above.
- Actions that read external data through SQL, HTTP or Redis connections are available on the Plus plan and above.
Related
Last updated on