Create an App
Copy a prompt, paste it into NocoAI in any base, and replace the words in [brackets] with your own.
- Build an app for [the front desk] to book [appointments] and see [today's schedule]
- Build this project as an app for [the field team], with a page to log [site visits]
- Build an app where [customers] can see the status of their [orders]
On NocoDB Cloud, you can create a NocoDB app in four ways:
- From Apps in a project.
- With Build with AI when you create a project.
- On the workspace home screen, with App selected.
- By asking NocoAI in the chat.
All four ways open the AI app builder. There, NocoAI builds the app from your description.
Before you begin
- You need the Owner or Creator role in the project.
- Each project has at most one AI app. To build a second AI app, use a different project. A project can have any number of classic apps, formerly called interfaces.
- The AI app has its own name. To change it, select Rename in the menu of the app in the project sidebar.
- NocoAI uses credits when it builds the app.
Create an app in a project
- Open the project.
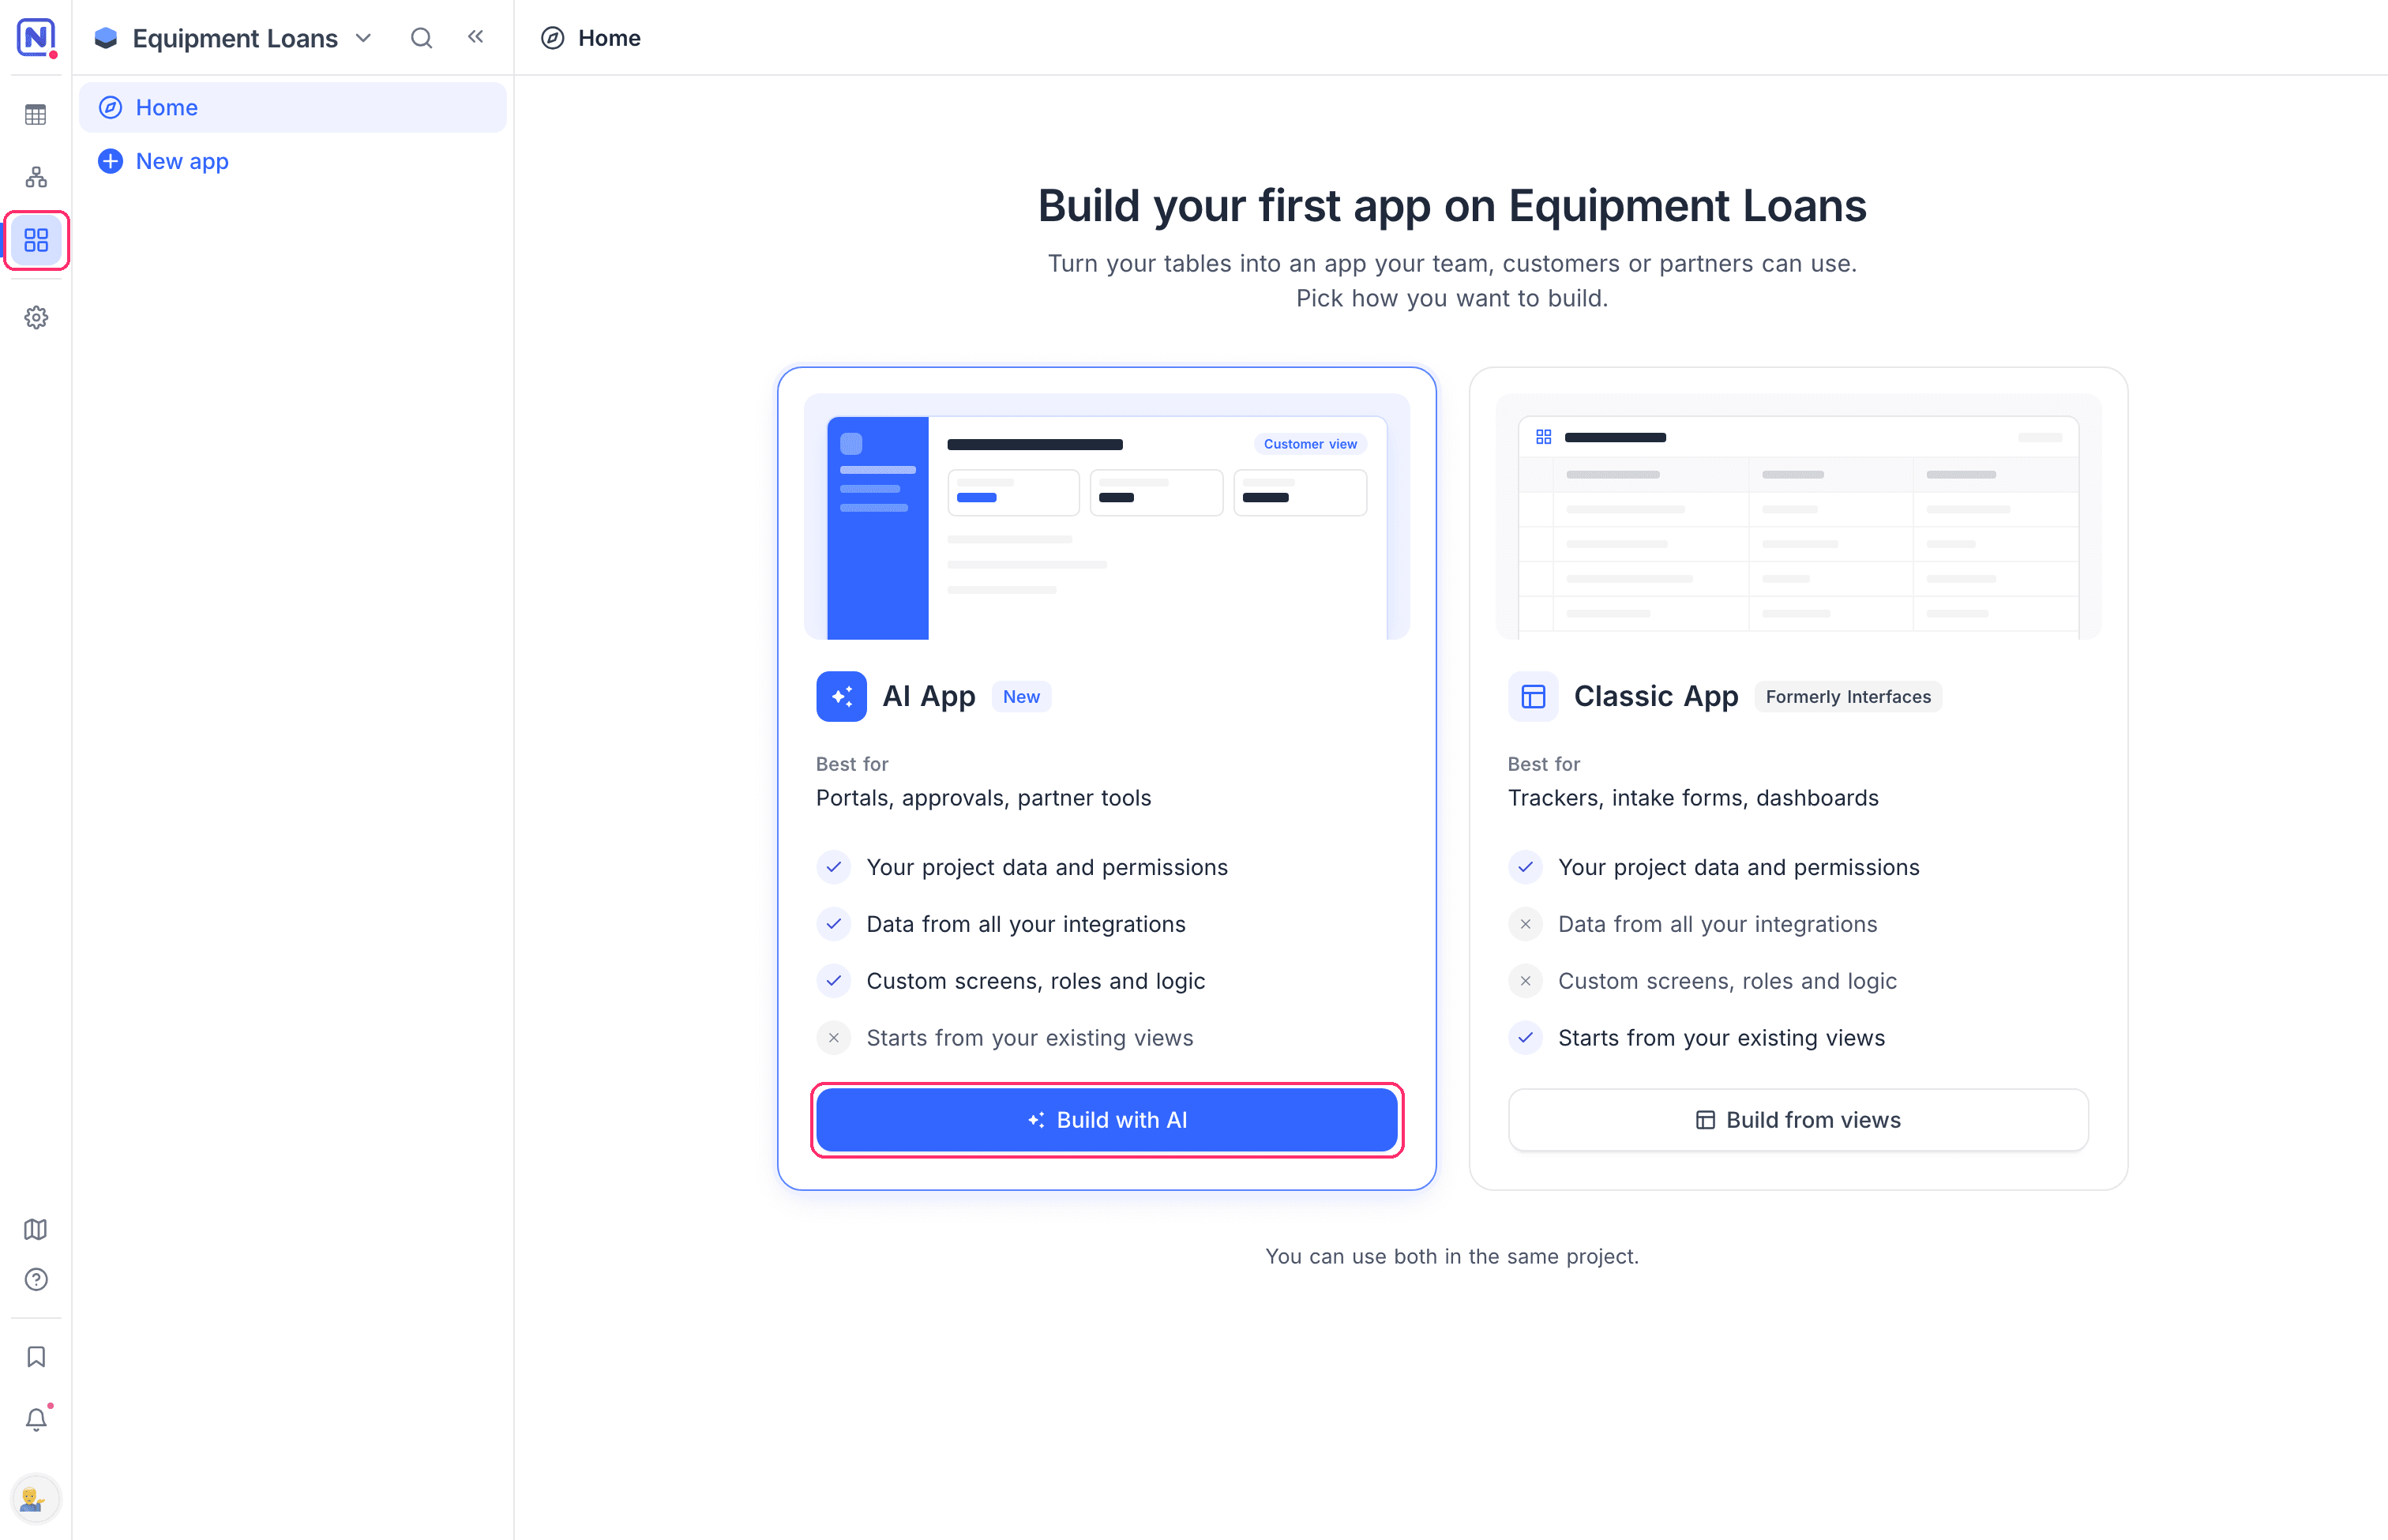
- In the mini sidebar, click Apps. The Apps page of the project opens.
- Click Build with AI on the AI App card. NocoDB creates the app and opens the AI app builder.
- In the chat, describe what the app must do and who uses it.
The Apps page lists every app of the project: the AI app and the classic apps, formerly called interfaces. When the project already has apps, click New app in the project sidebar or on the Apps page. In the Create an app dialog, click Build with AI on the AI App card. A project has one AI app, so when it exists, the card button shows Edit with the app name and opens that app instead.
Create a project and an app with AI
A new project built as an App creates the tables, the views and the app together, from one description.
- On the workspace Projects page, click New project.
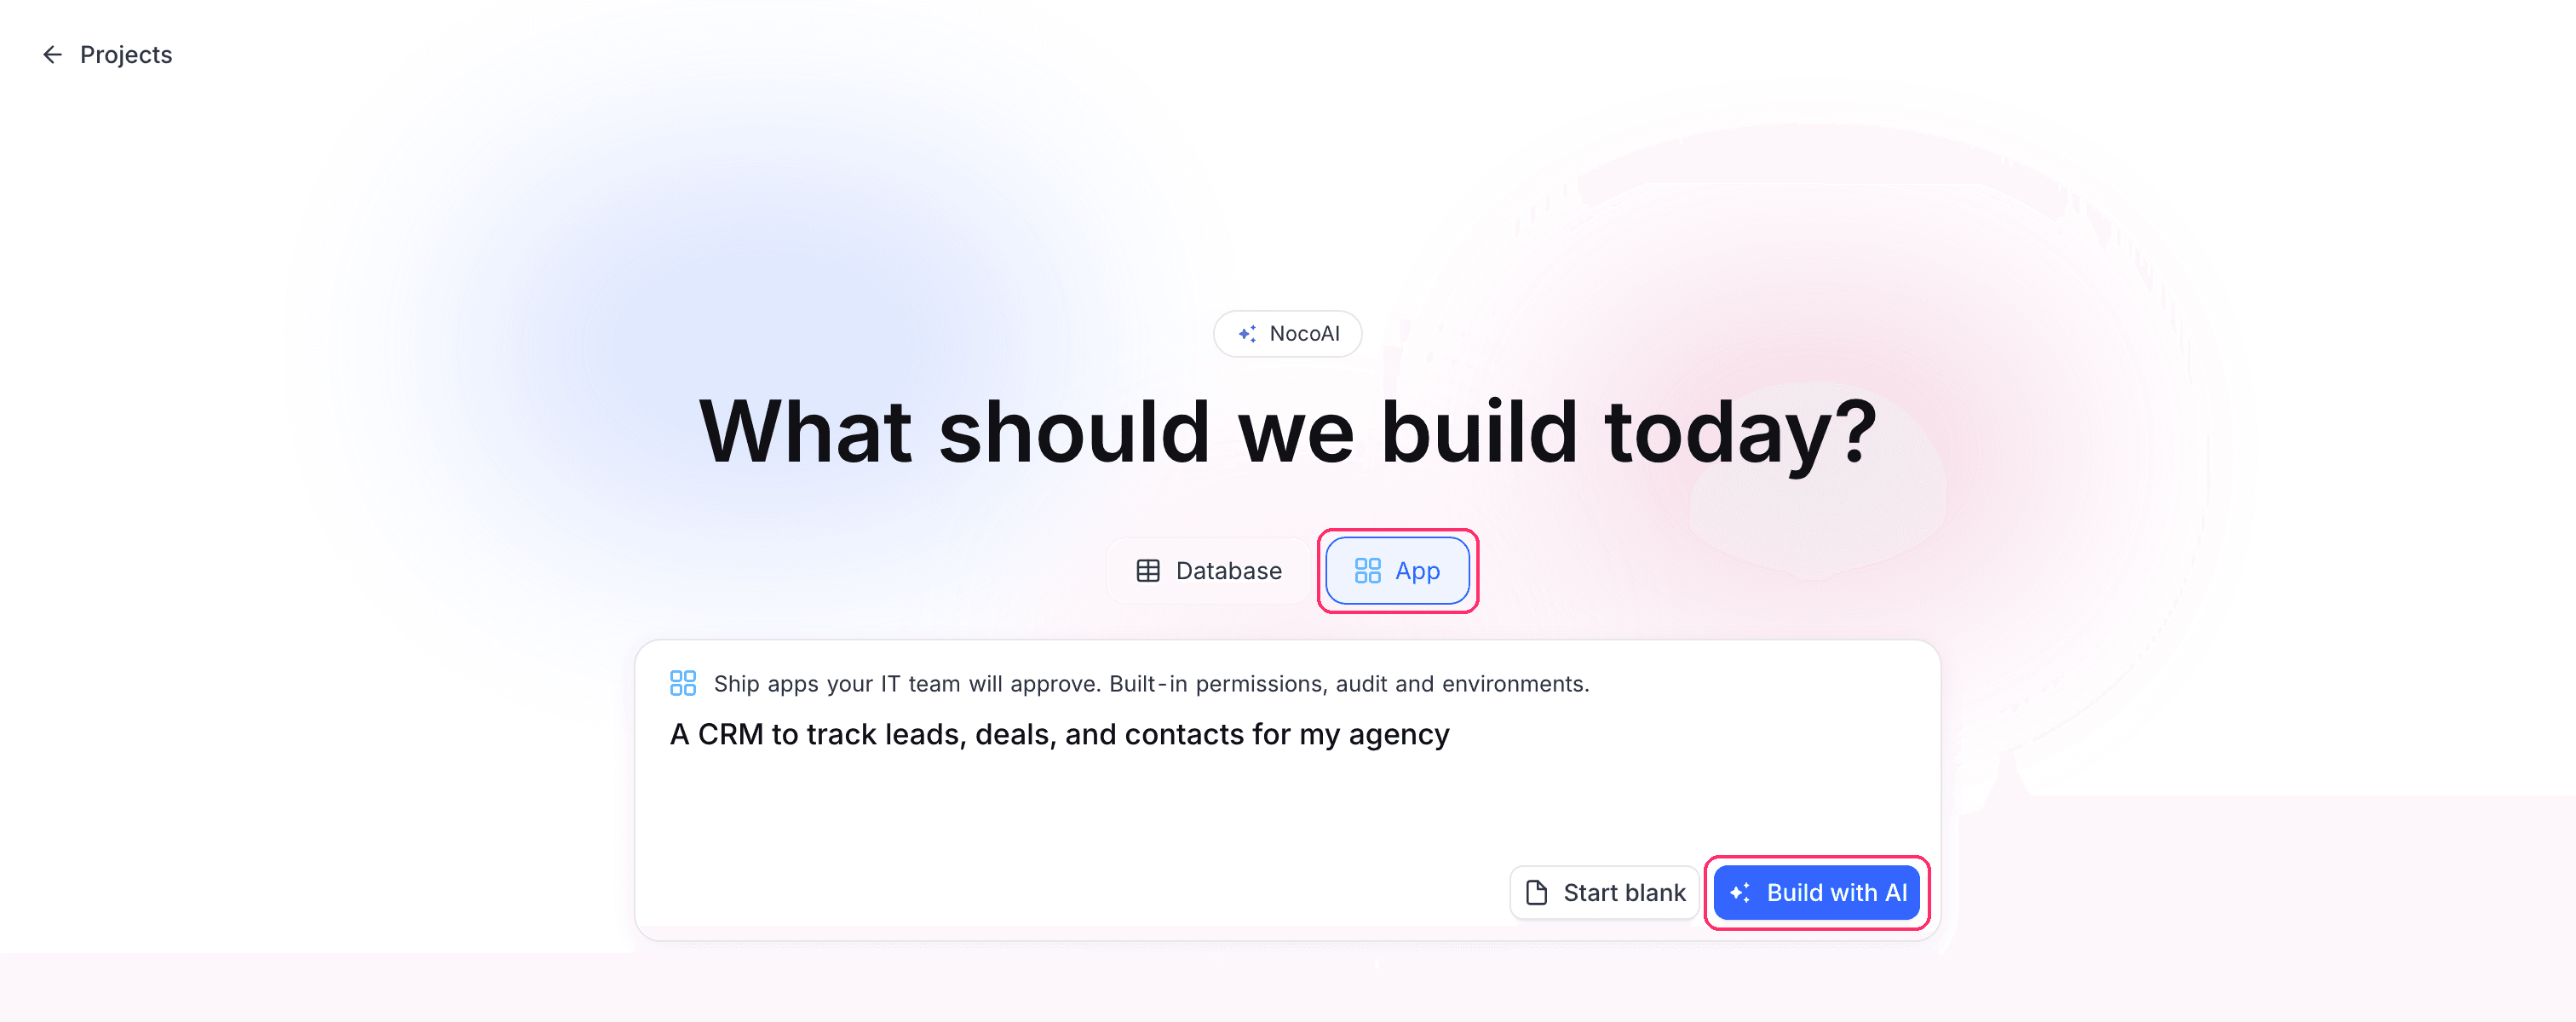
- Select App.
- Describe what you need, for example "A CRM to track leads, deals, and contacts for my agency".
- Click Build with AI. NocoDB shows the progress of each step: Design the data model, Create tables, Add fields, Set up views and Assemble the app.
- When the build is complete, click Open your app.
Create an app from the workspace home screen
When you open a workspace on NocoDB Cloud, NocoDB asks What should we build today? and offers a choice of what to build above the text box. Database is selected. Where AI apps are available, you can select App instead.
- Select App.
- Describe what the app must do and who uses it.
- Click Build with AI. NocoDB creates a project and builds the app on it, with the steps of Build with AI.
Where AI apps are not available, the home screen builds tables instead. Self-hosted deployments have no home screen: a workspace opens on its project list.
Ask NocoAI to build an app
-
Open a project and open the NocoAI chat.
-
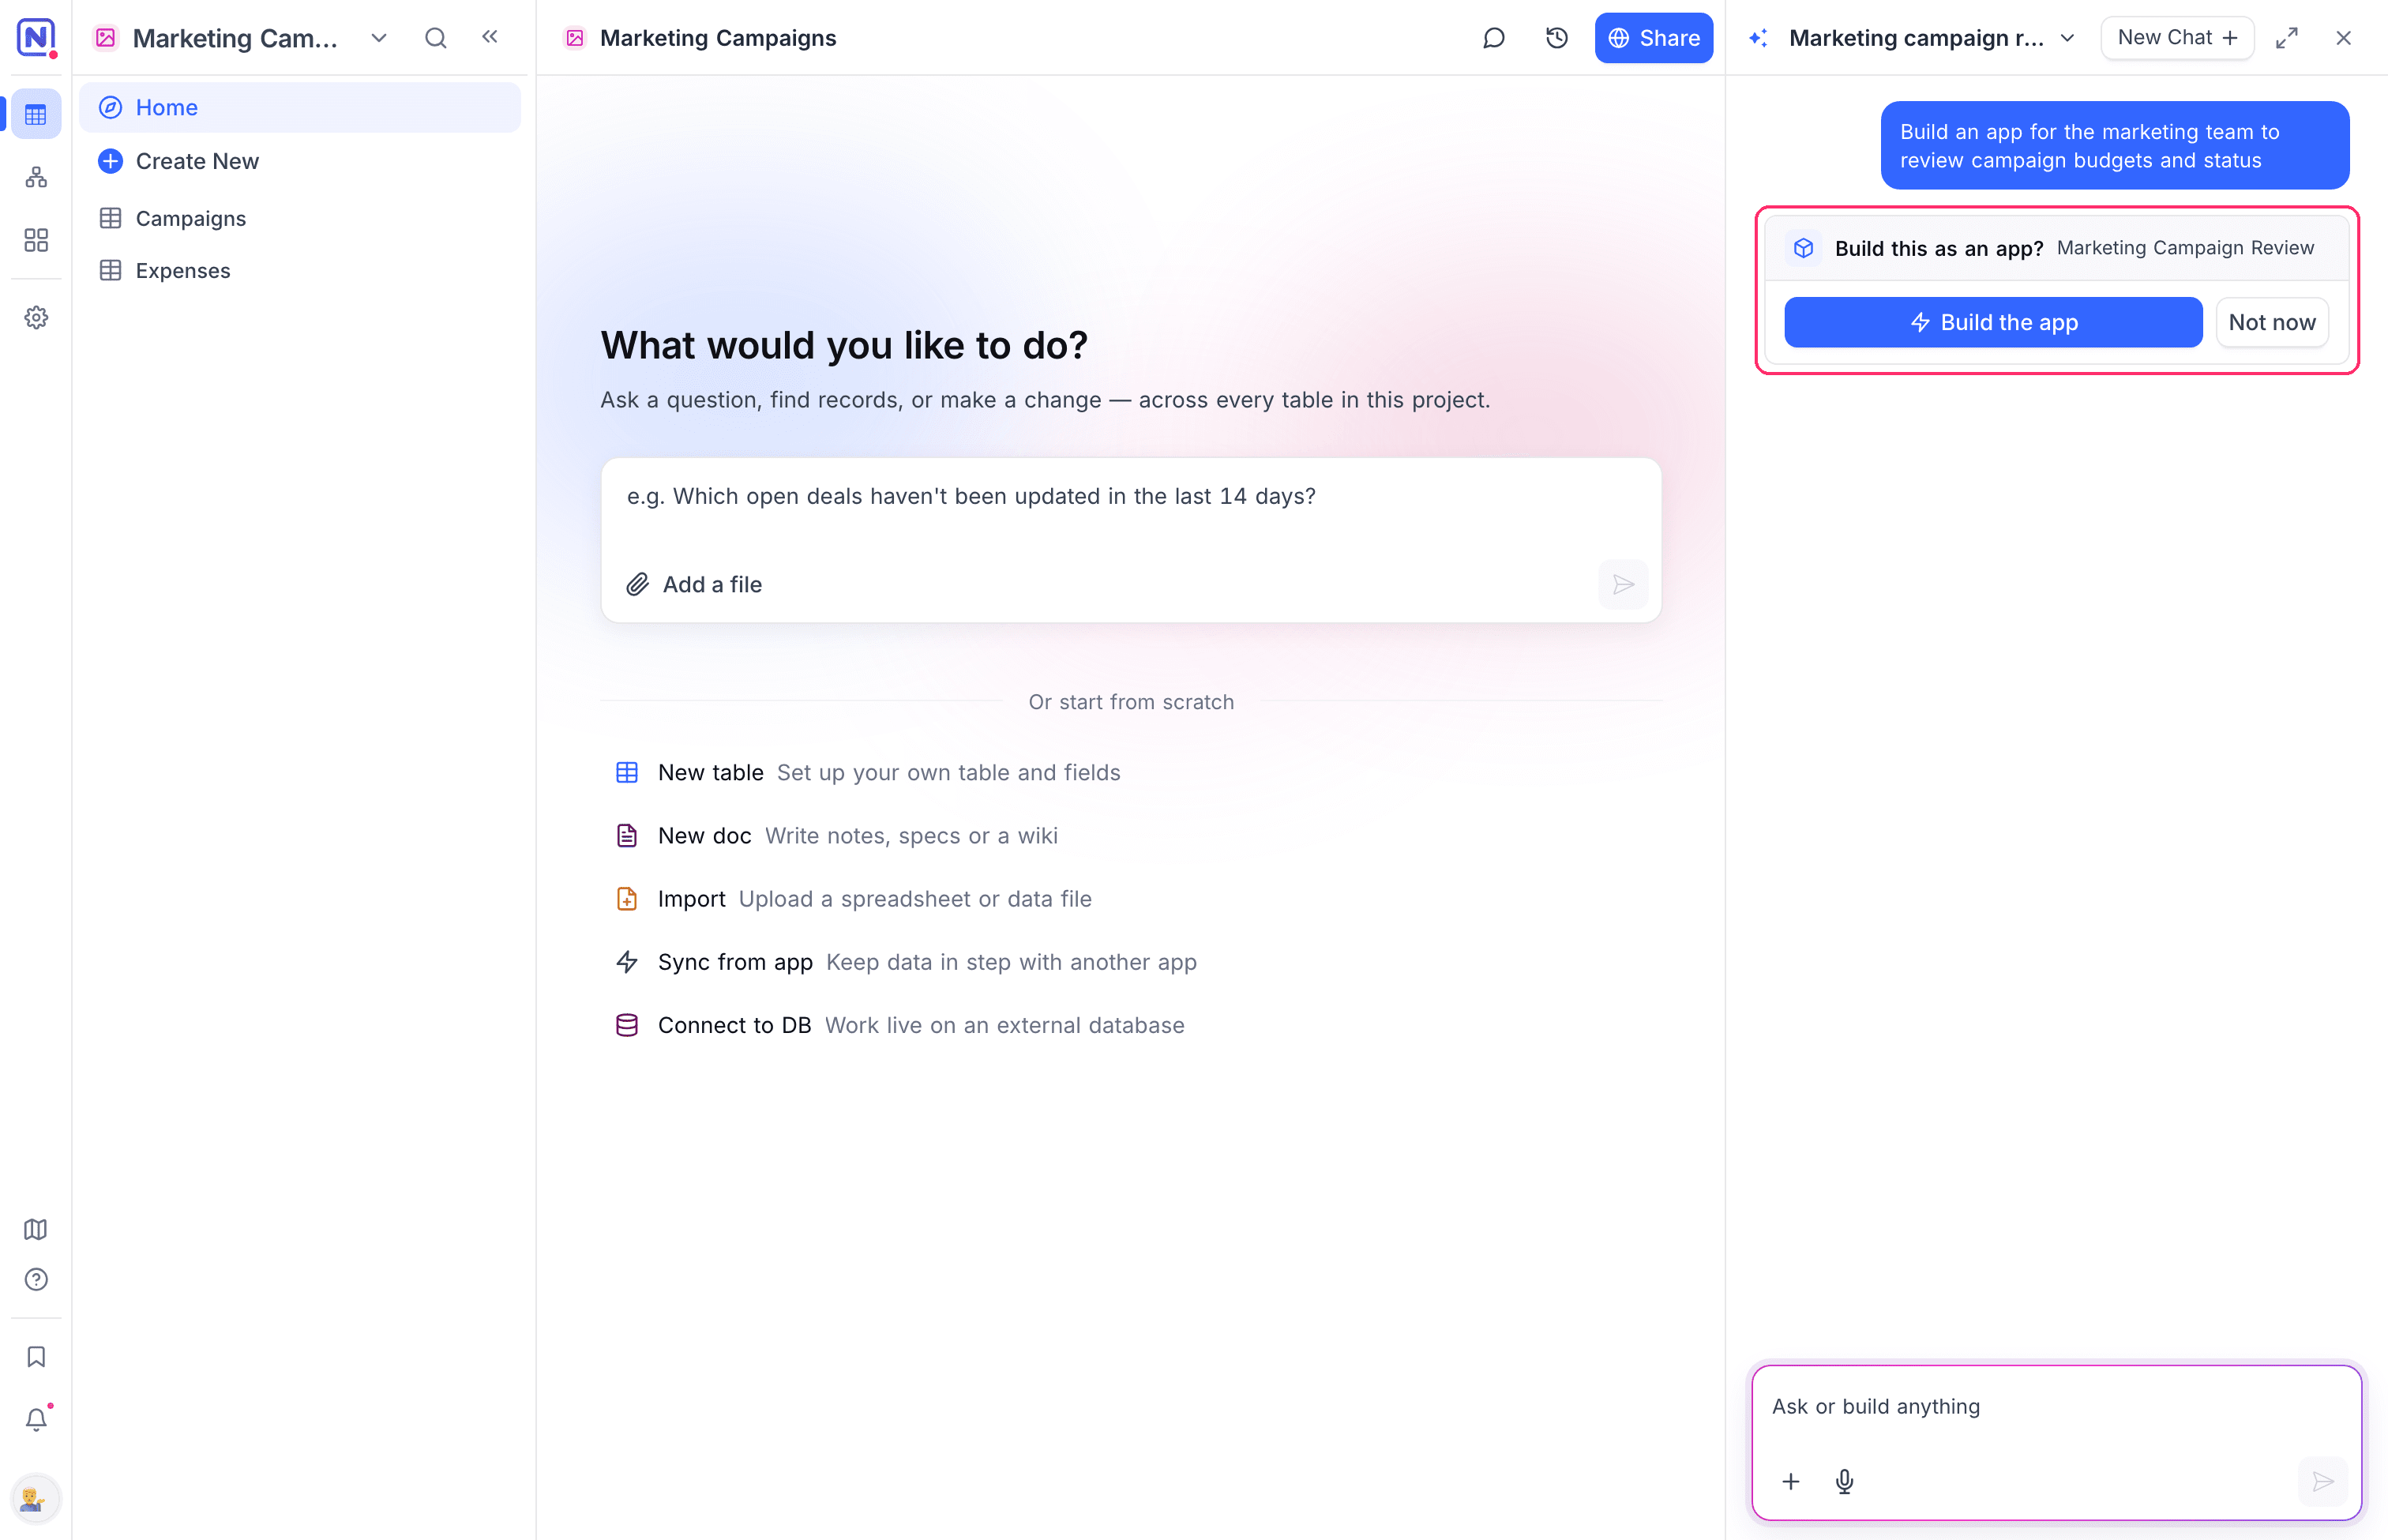
Ask NocoAI to build an app. NocoAI shows the Build this as an app? card.
-
Click Build the app. NocoAI builds the app in the chat. When the first build is complete, the AI app builder opens.
To stop, click Not now.
After the app exists, you do not have to approve each change. Ask NocoAI for a change and it changes the app.
Describe the app well
NocoAI builds a better app from a clear description. Tell it:
| Topic | Example |
|---|---|
| Who uses the app | "The front desk staff and the clinic manager." |
| What they must do | "Book, move and cancel appointments. See today's schedule." |
| Which data it uses | "The Patients, Appointments and Dentists tables." |
| What is public | "Patients can book a visit without an account." |
| Which services it calls | "Send a confirmation email when a booking is made." |
You can add and change things later. Each message in the chat changes the same app.
Show the app first in the sidebar
By default, Apps shows below Data and Workflows in the mini sidebar. To show it above Data:
- Open the project context menu → Settings.
- Go to Admin → Data Display.
- Turn on Show app first in the sidebar.
Related
Last updated on