Create Project
On the workspace Projects page, click New project. The New project page opens. It has these ways to start:
| Option | What it does |
|---|---|
| Start blank | Starts an empty project. |
| Or start from a template | Uses a pre-built structure for a common use case. |
| Build with AI | Uses NocoAI to create a project from your description. |
Without NocoAI, the page offers New table, New doc, Import, Sync from app and Connect to DB instead of the text box and Start blank. Each one creates the project and starts you on that step.
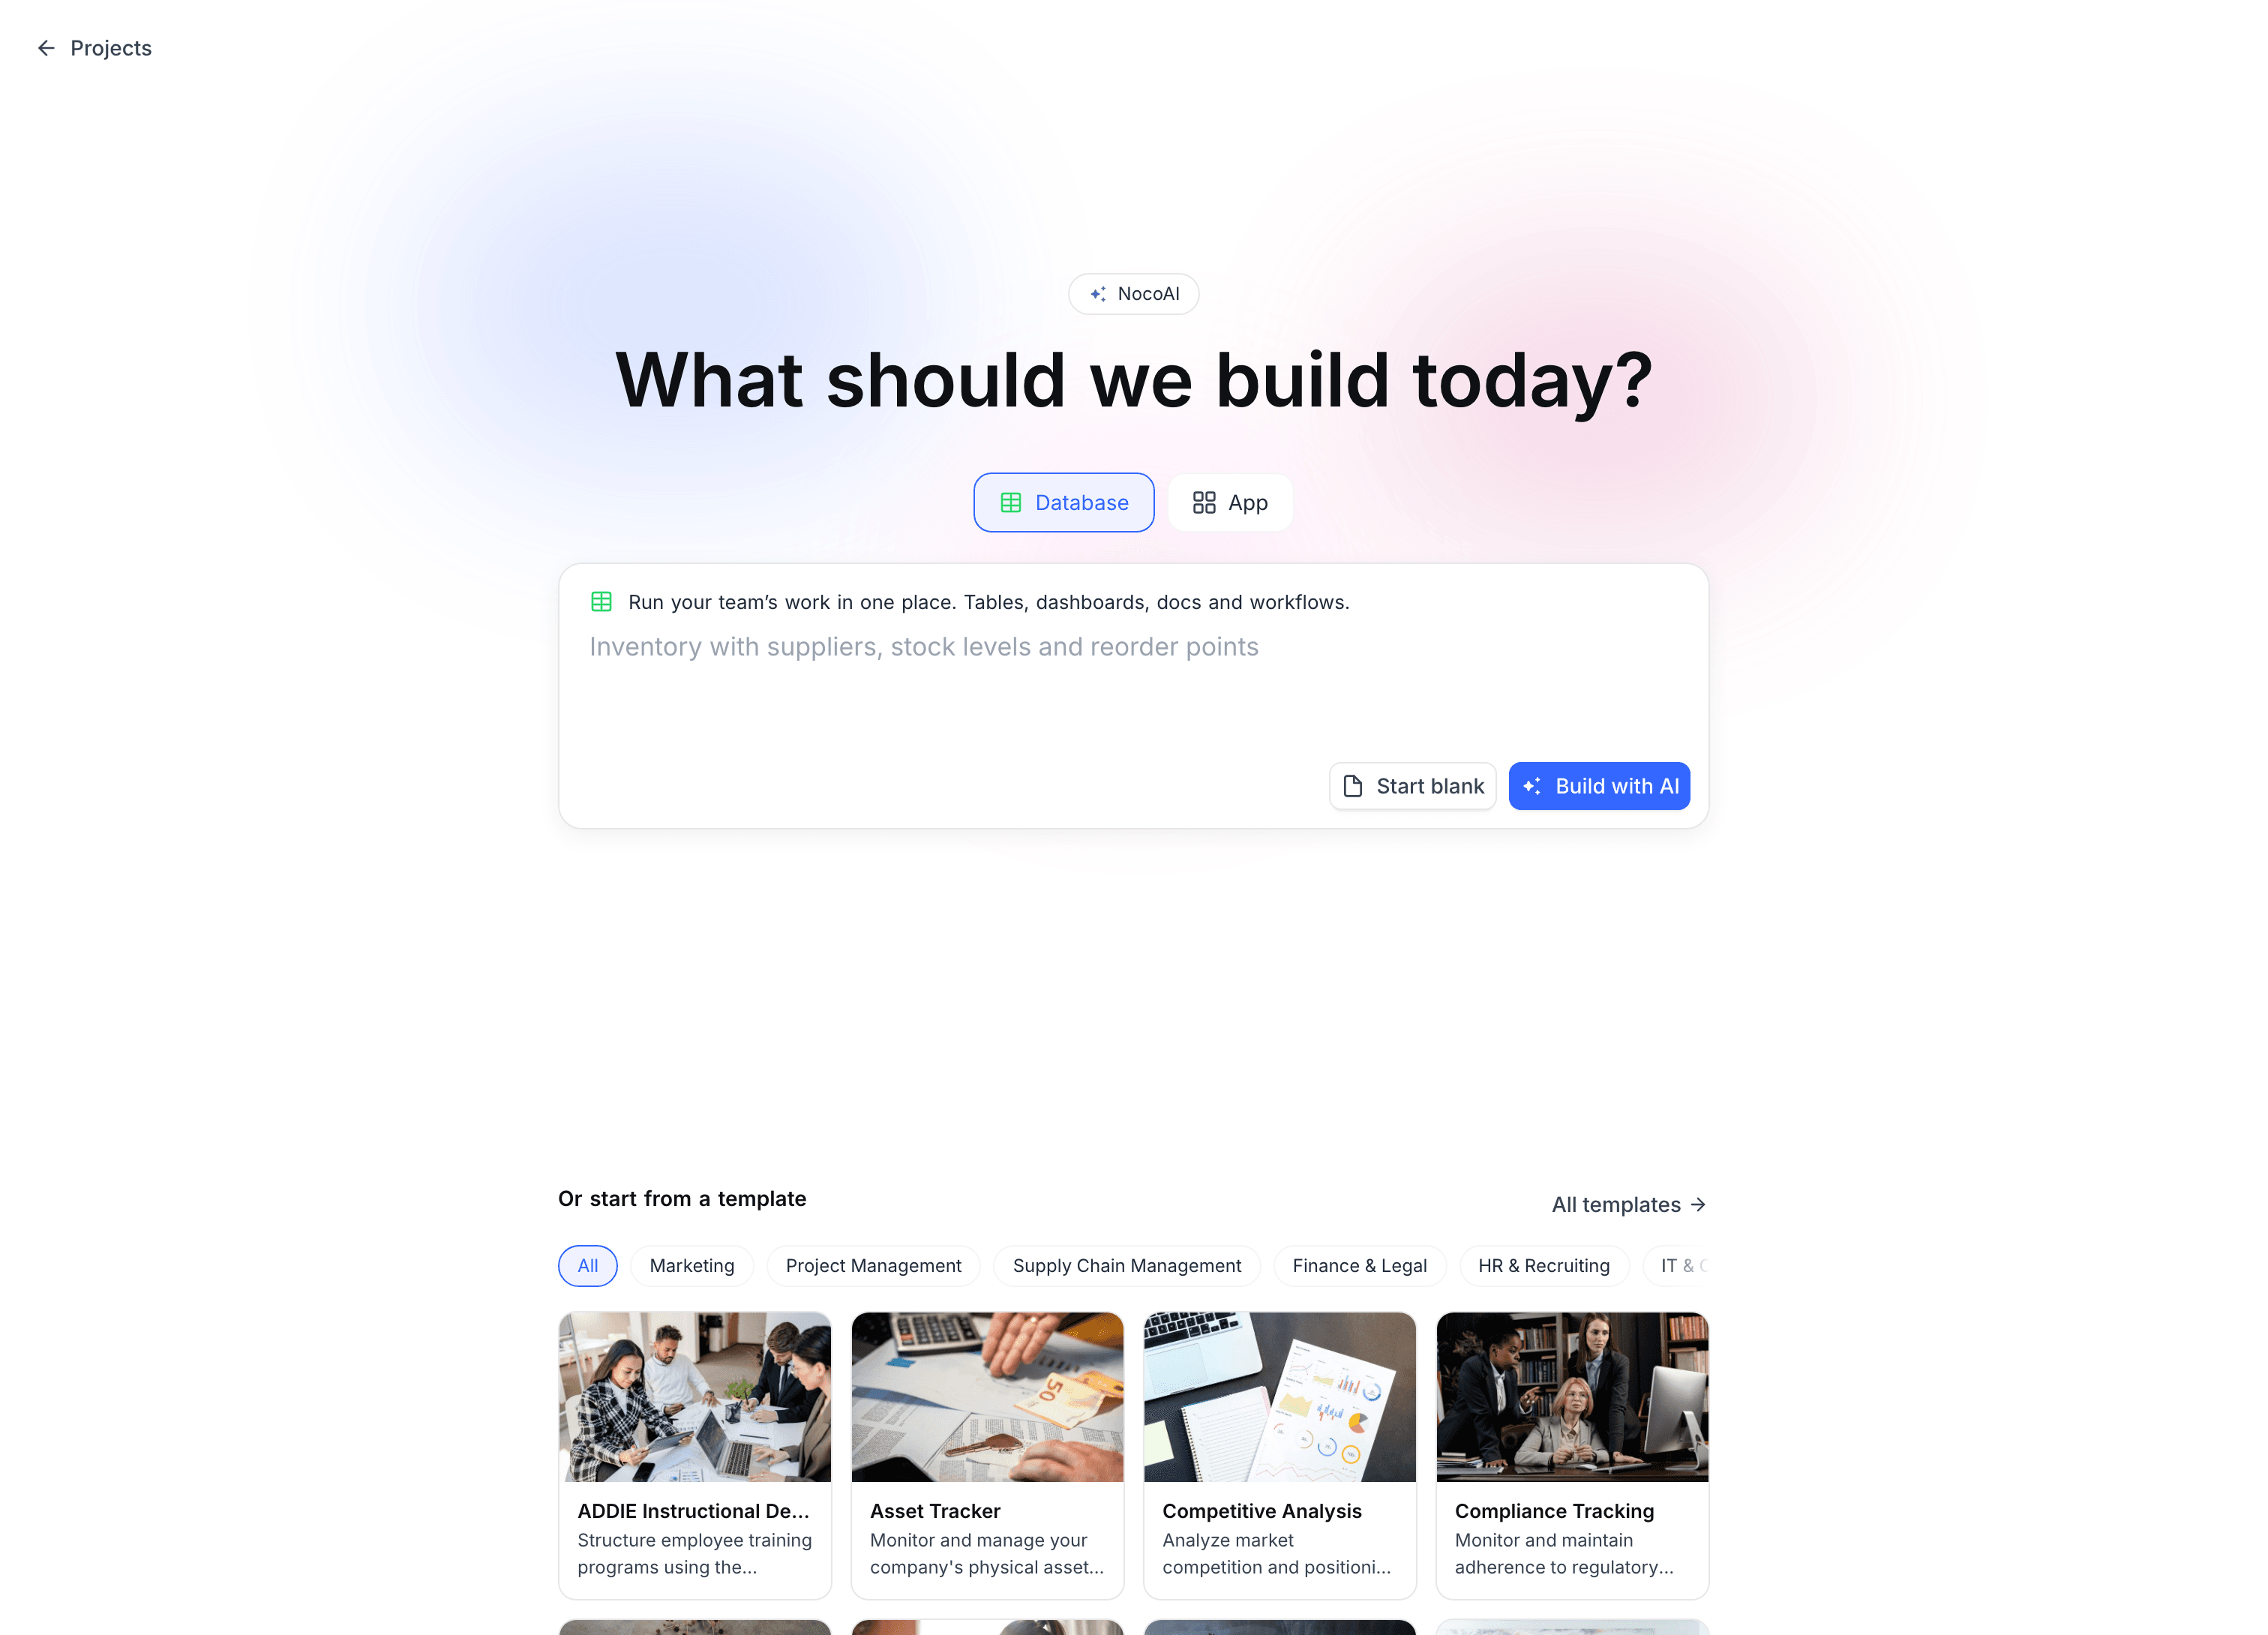
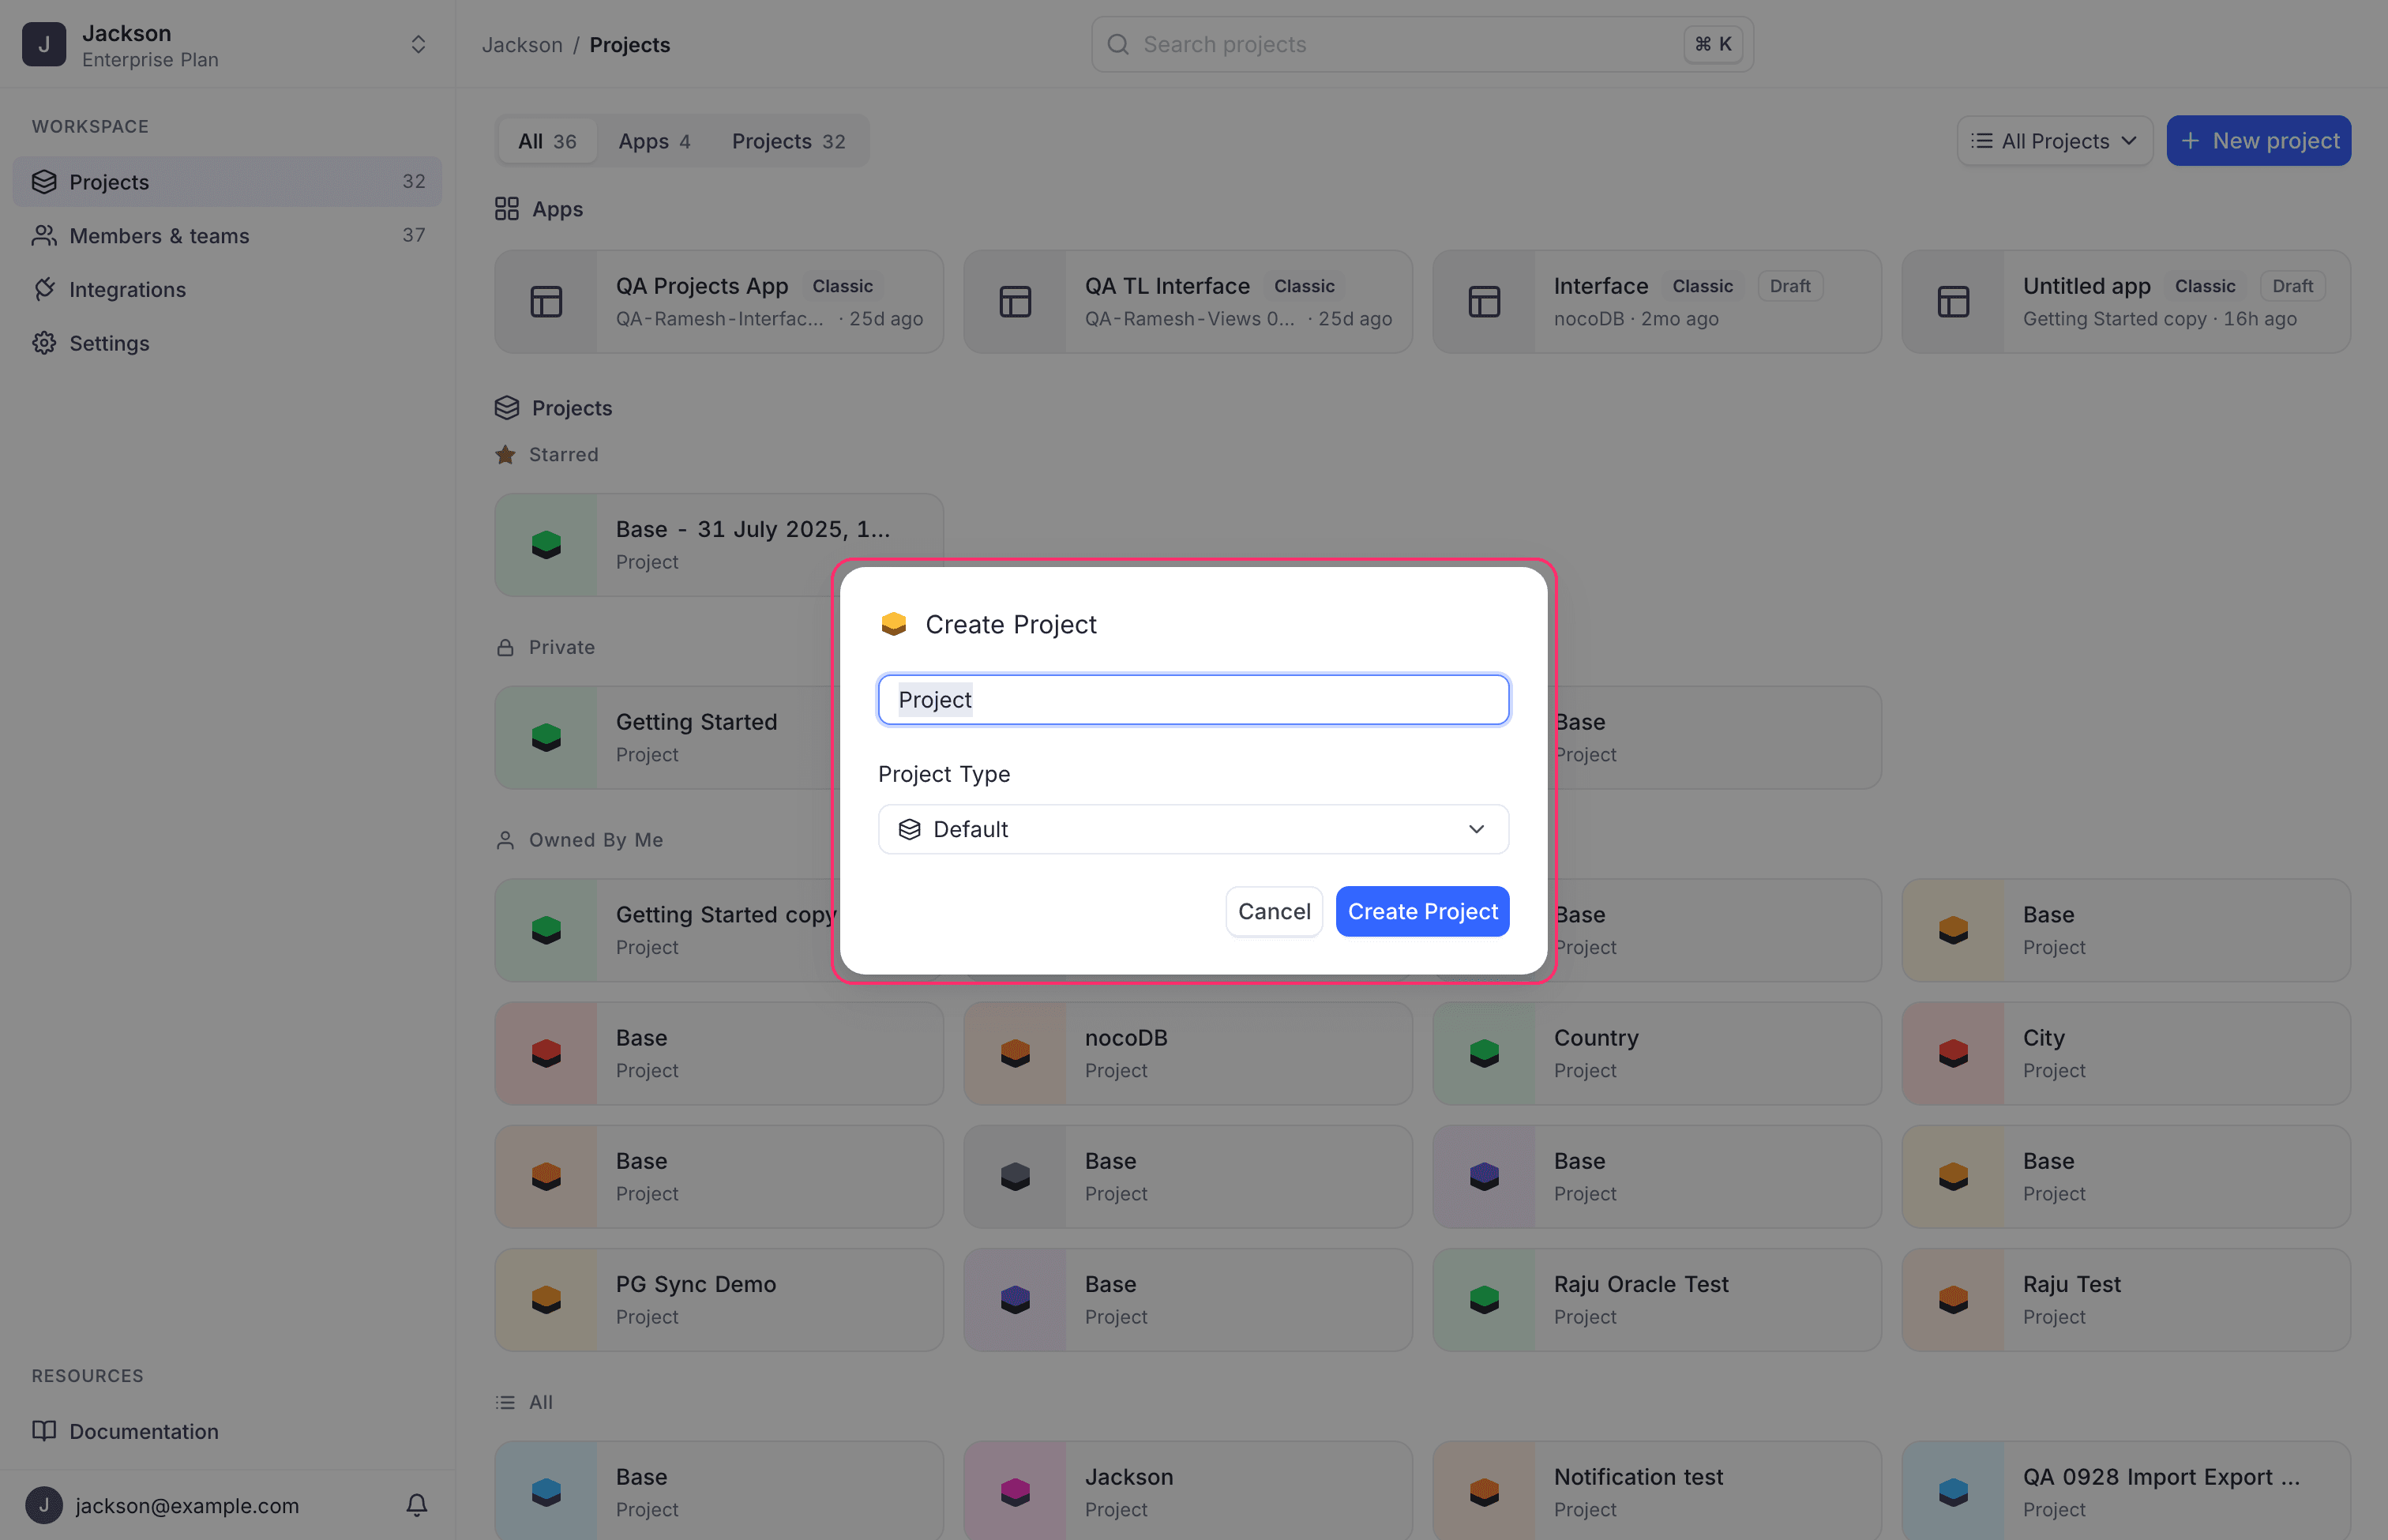
The New project page is on NocoDB Cloud. On self-hosted deployments, New project opens the Create Project dialog instead, where you type the name of the project and, outside the Community Edition, set its Project Type.
Copy a prompt, paste it into NocoAI in any base, and replace the words in [brackets] with your own.
- Build a project to manage [our hiring pipeline]
- Build a project for [a marketing team] with linked tables for [campaigns, content and channels]
- Build a project like [a simple CRM], with a kanban view and a dashboard
- Build a project from the attached spreadsheet, splitting it into linked tables where it makes sense
From scratch
- Click New project.
- Click Start blank. Without NocoAI, click one of the start rows instead, for example New table. On self-hosted deployments, type a name in the Create Project dialog and click Create Project.
NocoDB creates the project, names it Untitled project and opens it. When App is selected, Start blank opens an empty AI app in the new project instead. To give it your own name, refer to Rename project.
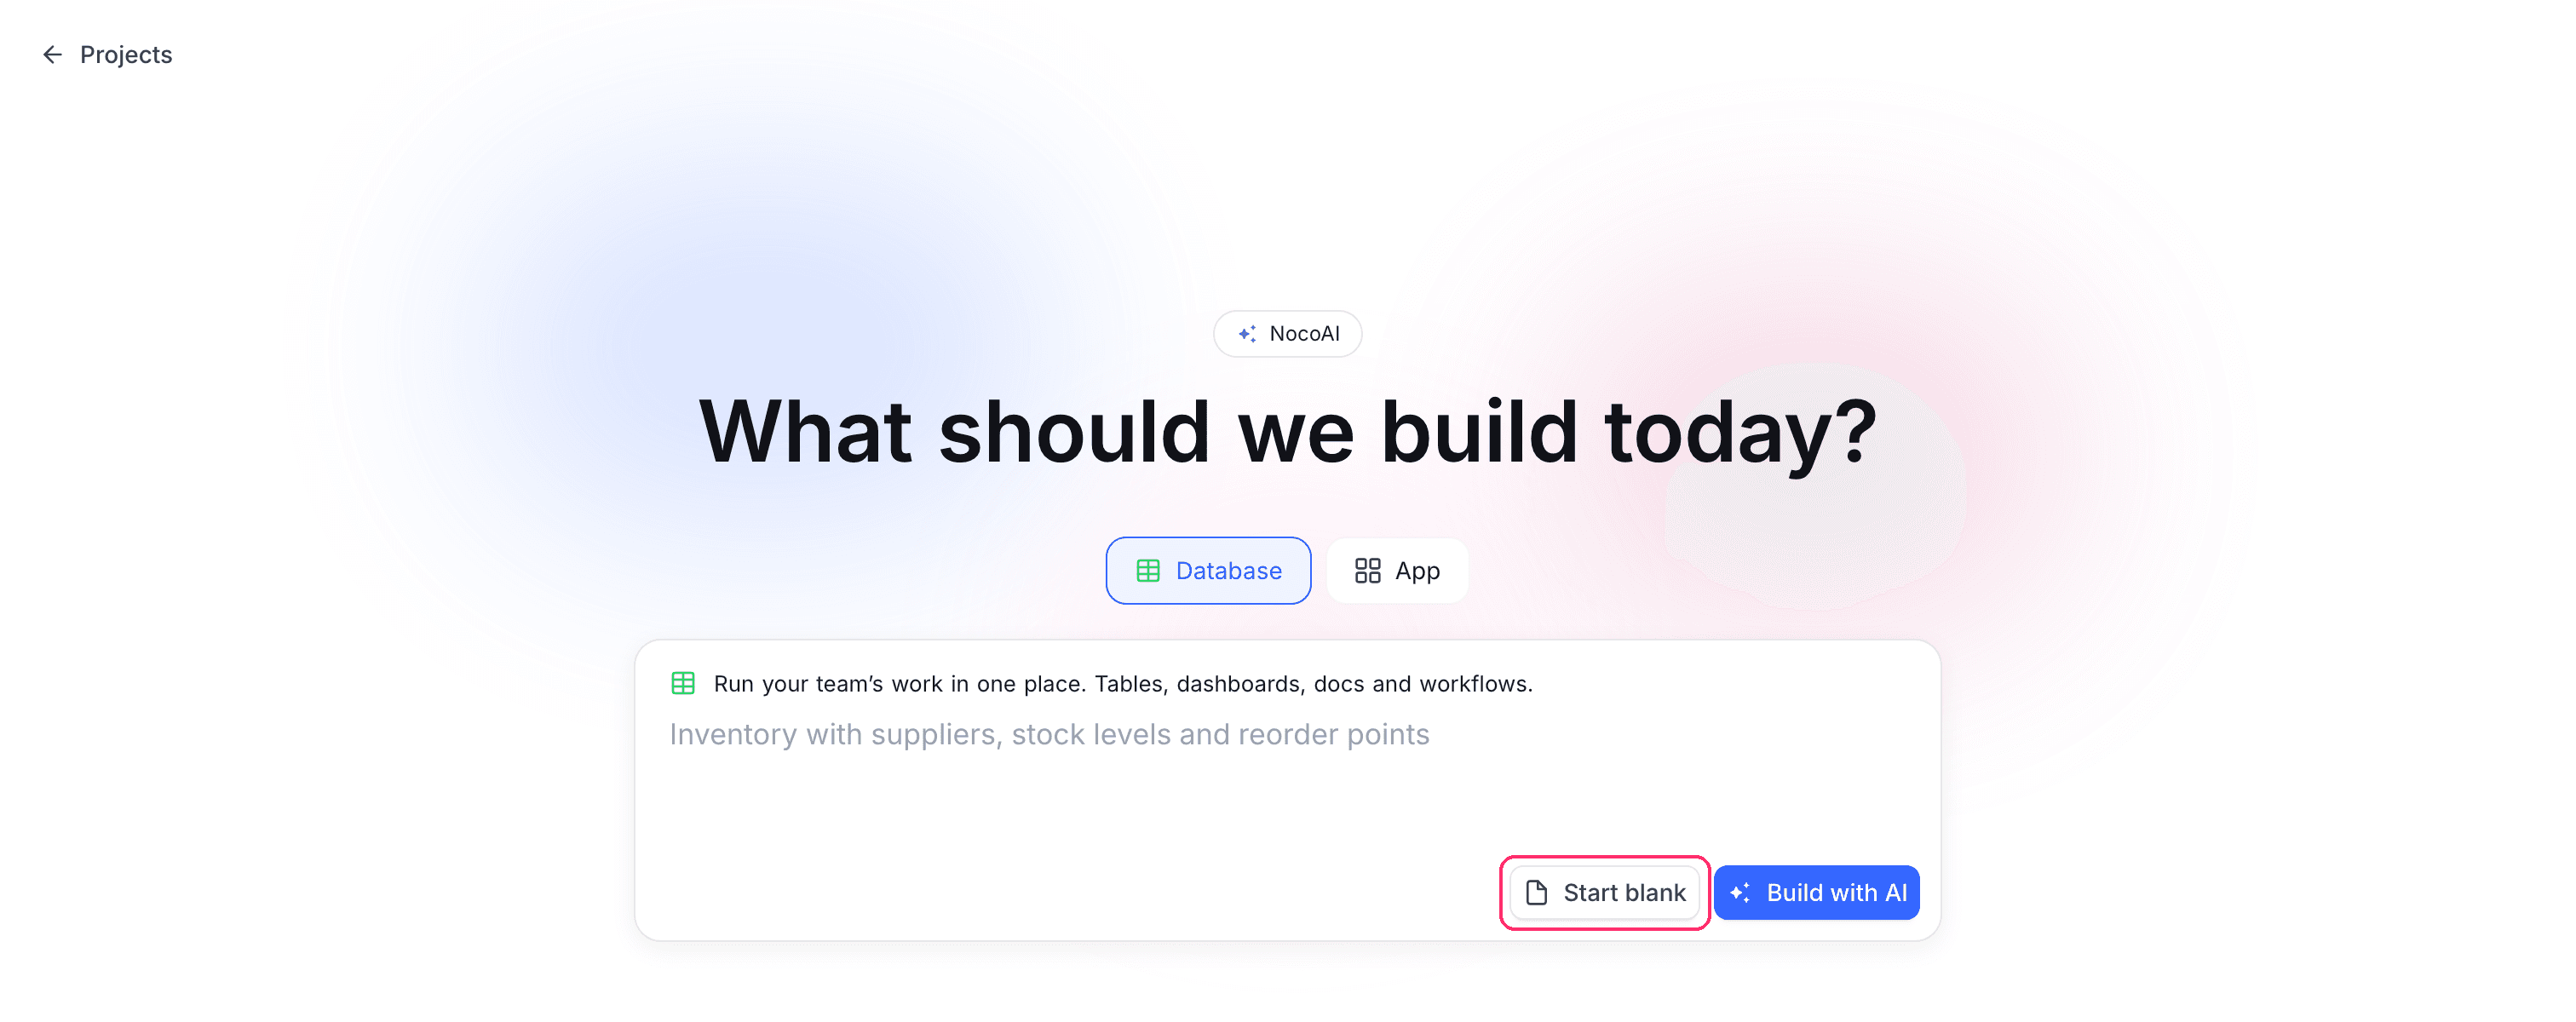
A new project is a Default project: workspace members can work in it based on their role. To make it private instead, set its Project Type in the project settings. Refer to Private Project.
From Template
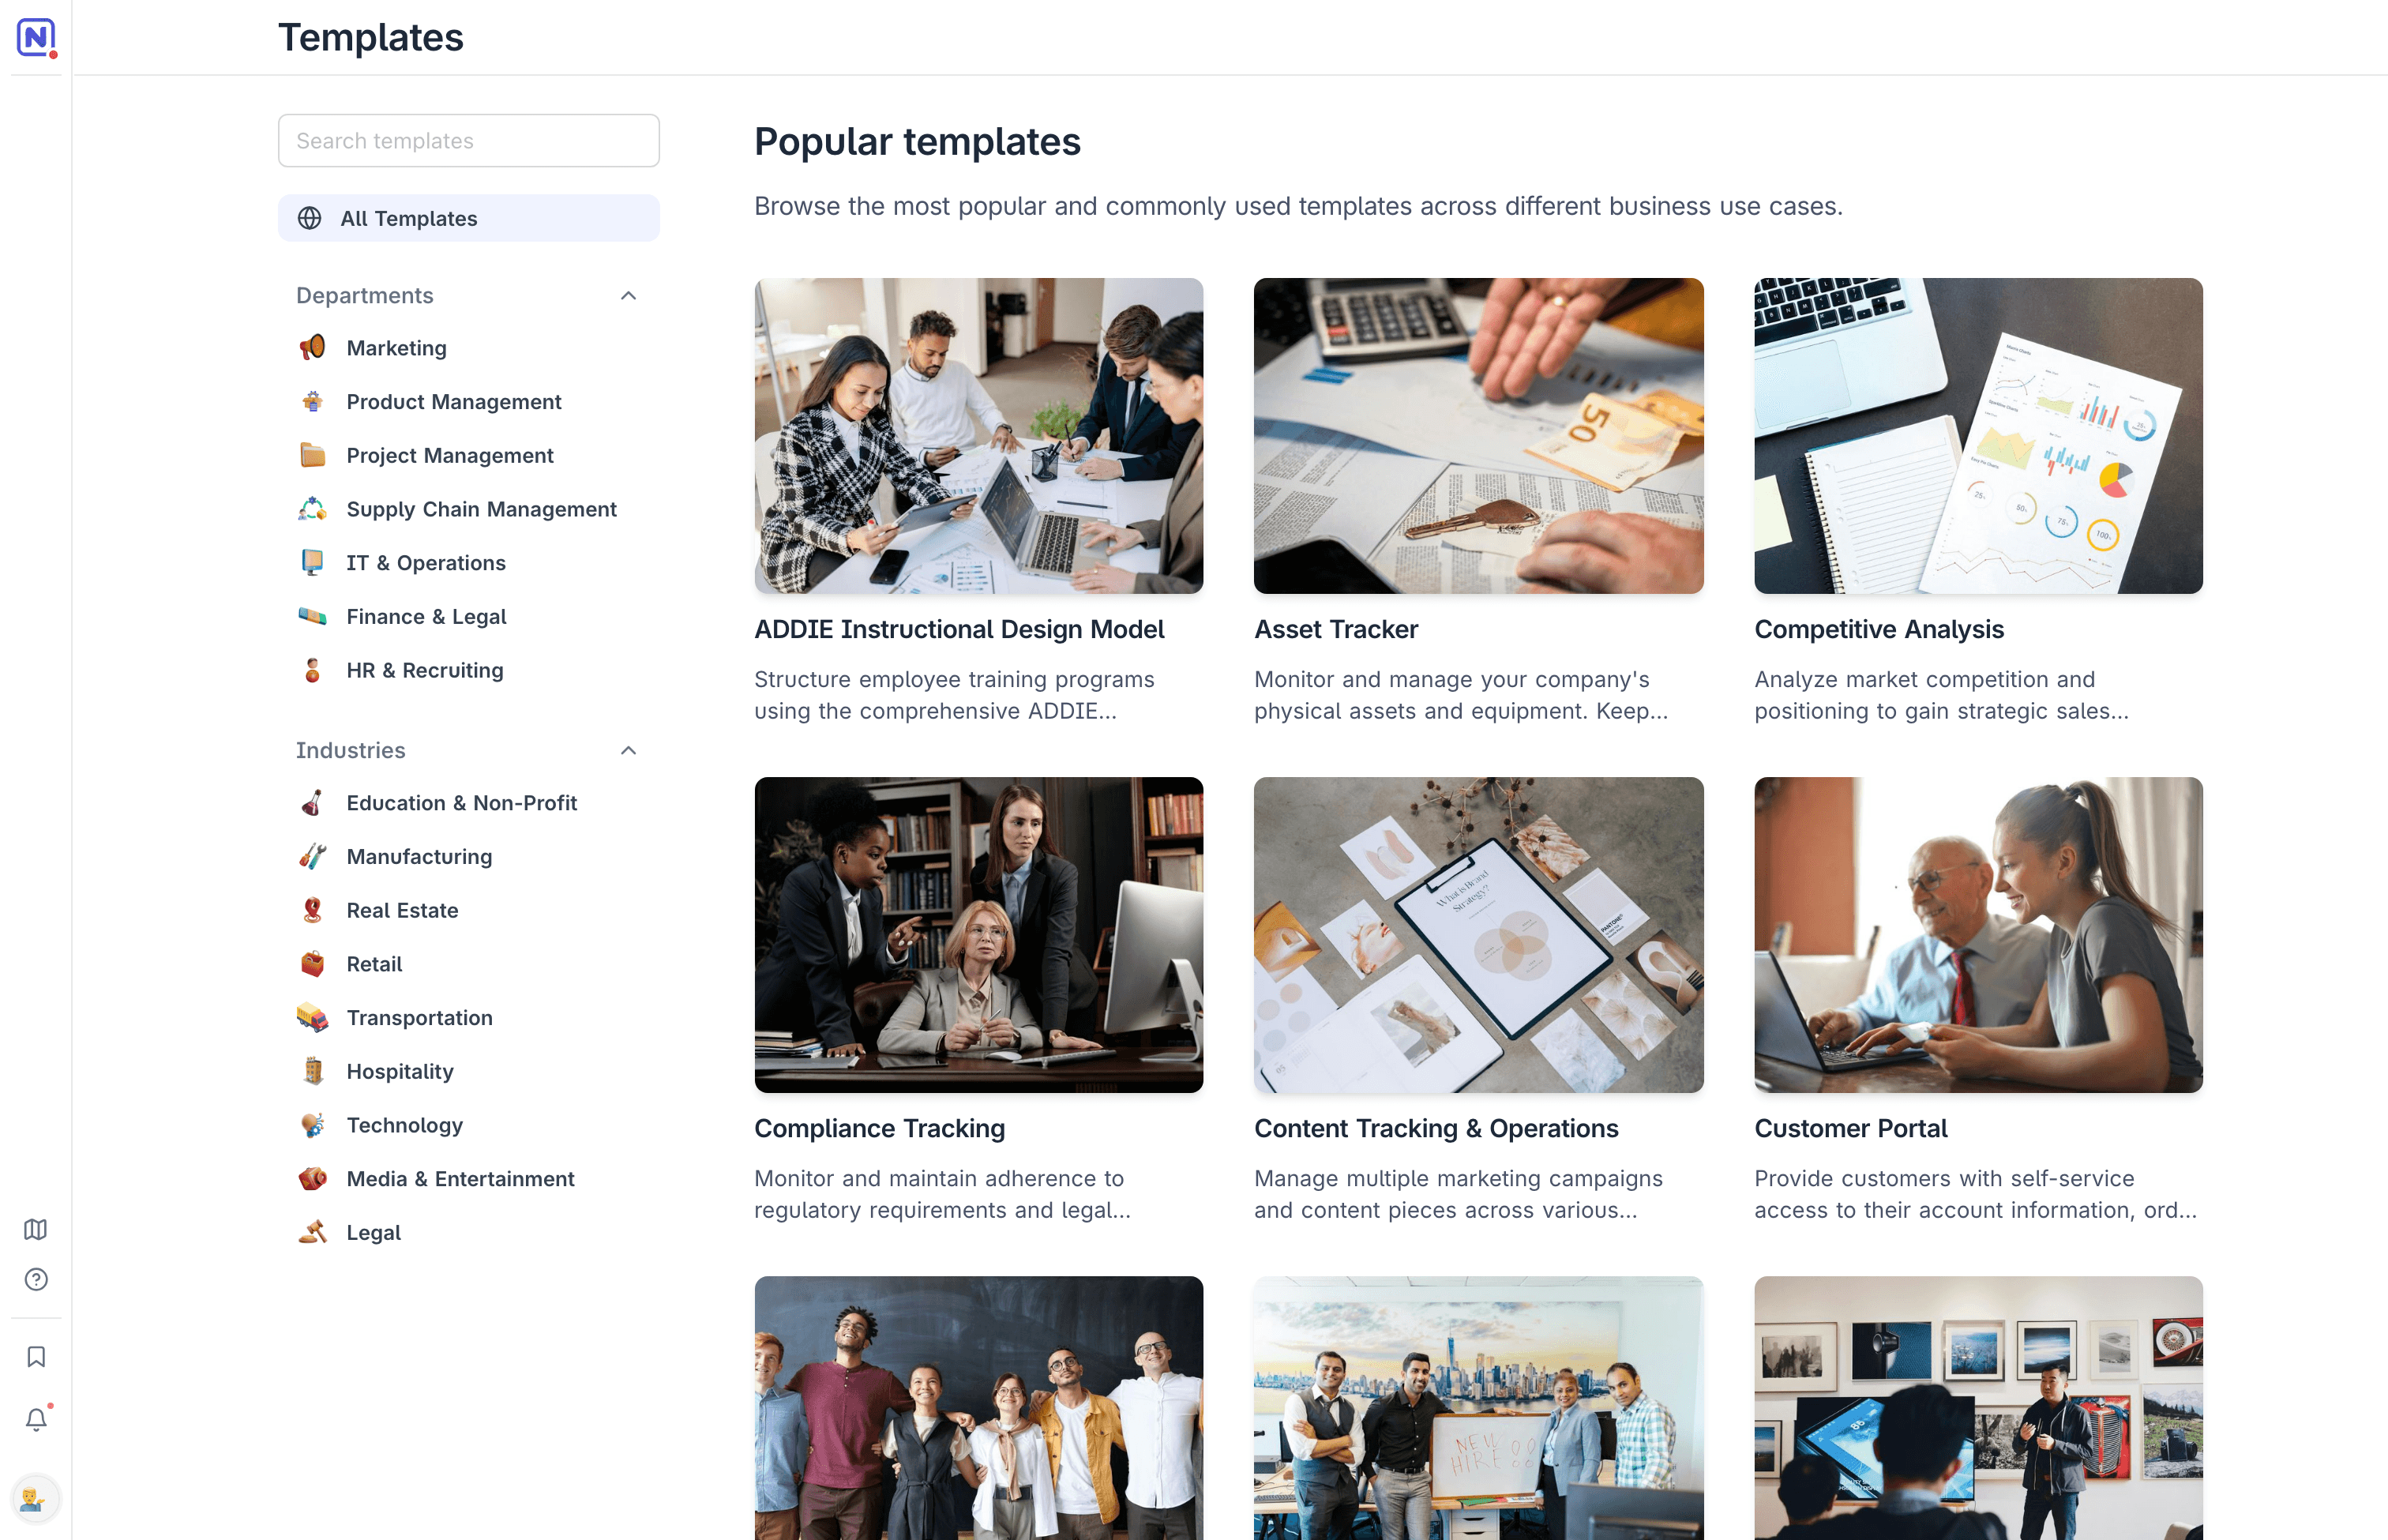
- Click New project. Below the text box, Or start from a template shows a selection of templates. To narrow it, select a use case.
- Select a template to open its page, or click All templates to browse the full catalogue by Departments, for example Marketing or HR & Recruiting, or by Industries, for example Manufacturing or Real Estate.
- Use the template. In the dialog, choose the workspace for the new project and click Apply. NocoDB creates the project from the template, with its data and views.
Build with AI
- Click New project.
- Describe what you need in the text box.
- Optional: above the text box, select what to build. Database builds tables, fields and views. App builds an app on new tables.
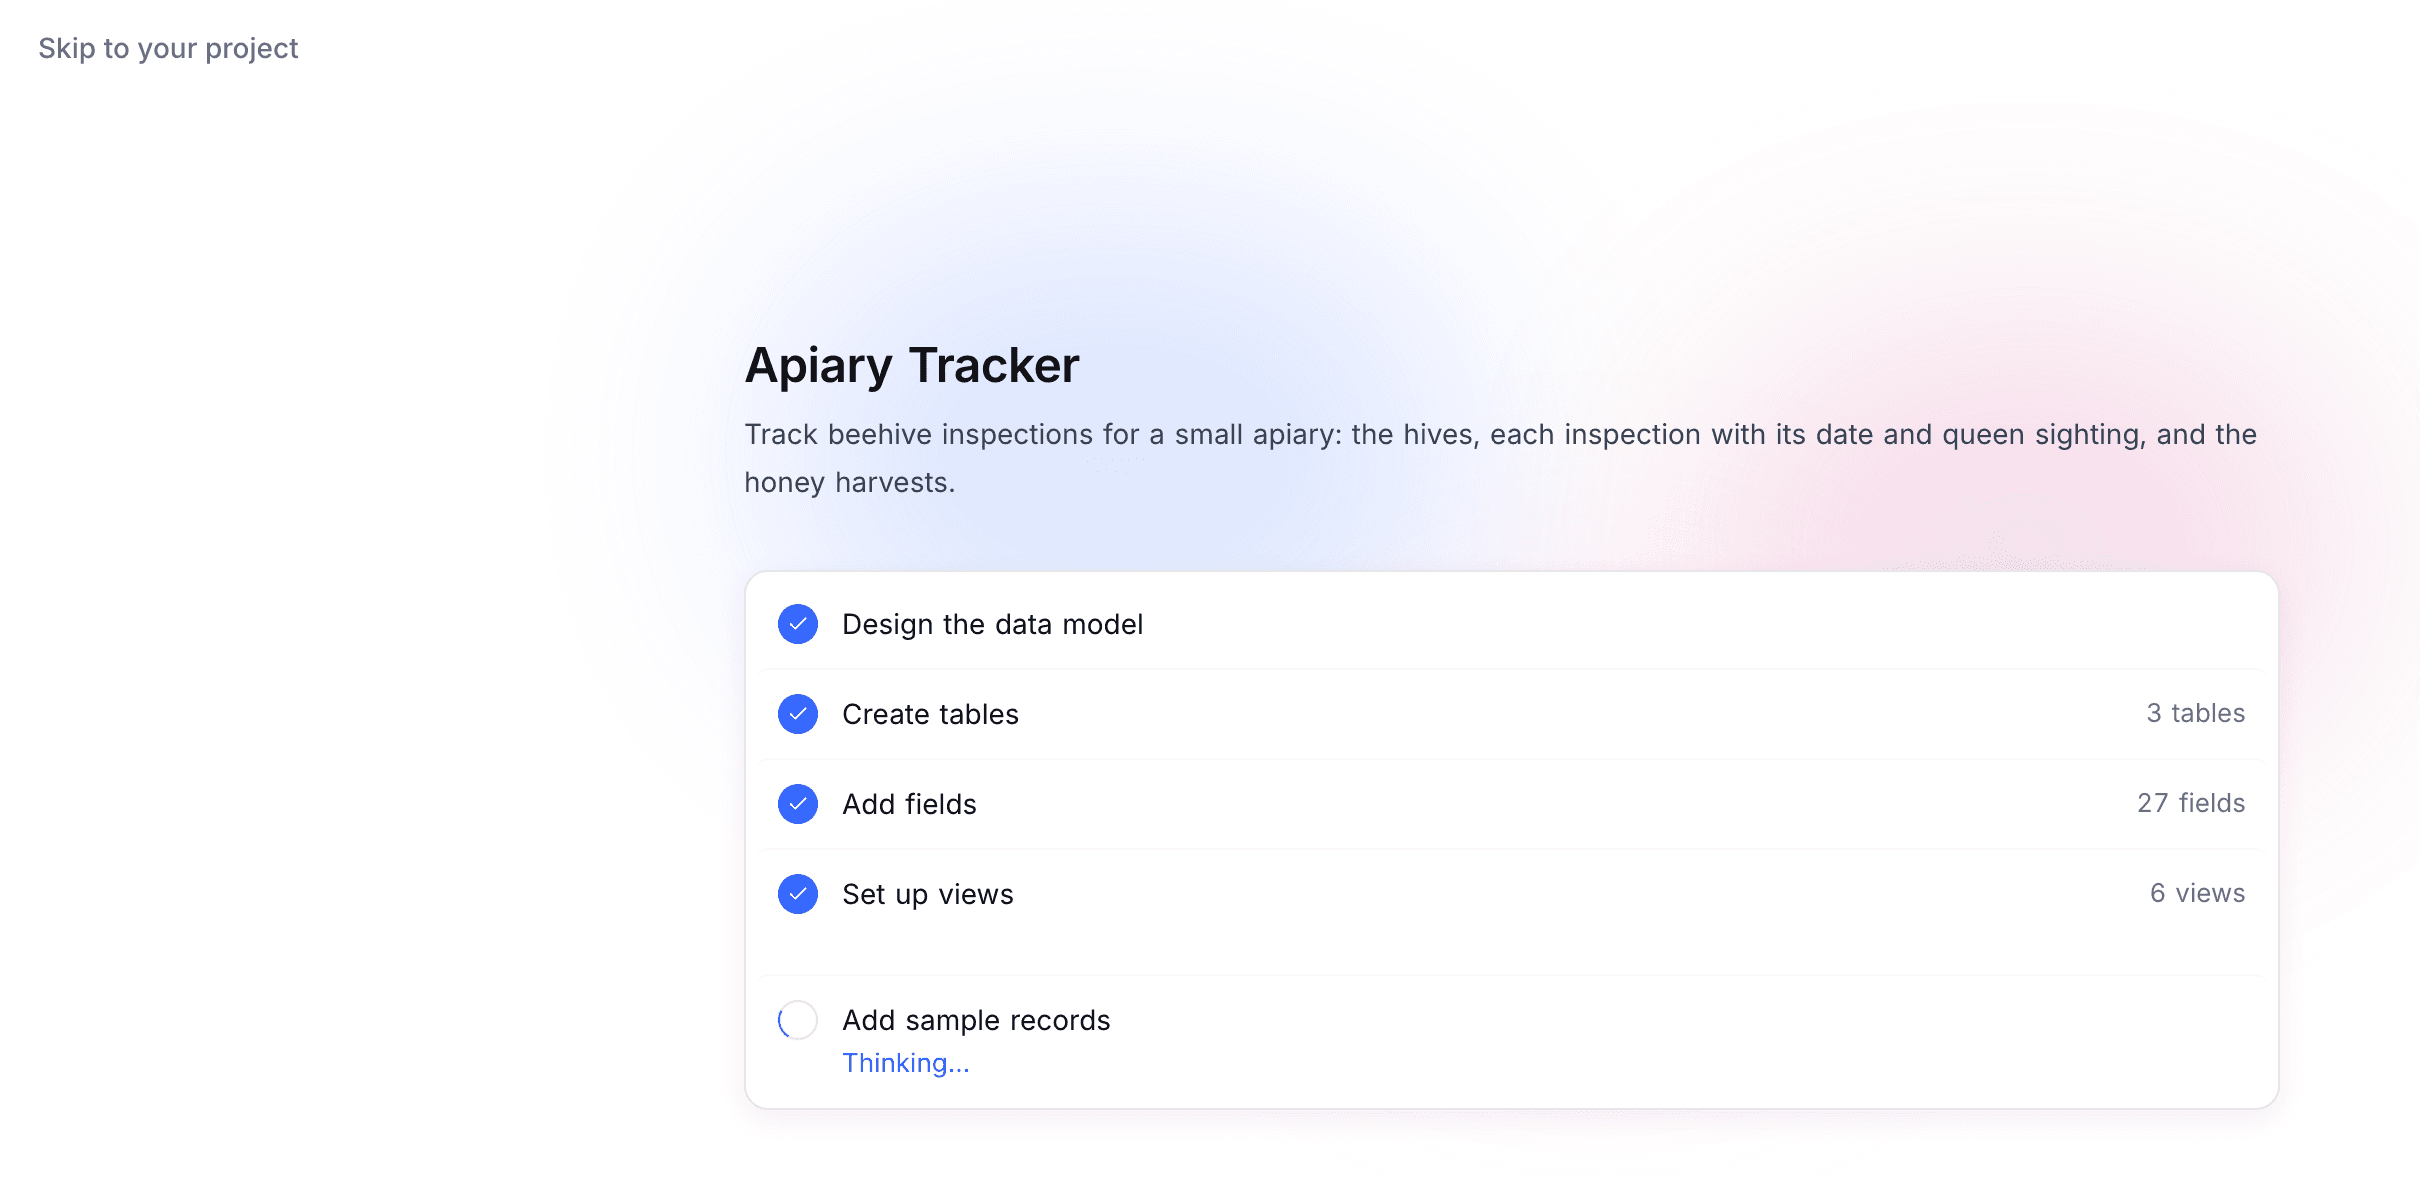
- Click Build with AI. NocoDB shows the progress of each step: Design the data model, Create tables, Add fields, Set up views and Add sample records. An app build ends with Assemble the app and adds no sample records. When a template fits your description, the build starts from it instead: the steps are Start from the template name template and Tailor it to your request, then Add sample records.
- When the build is complete, click Open your data, or Open your app for an app build.
The choice of what to build is available where AI apps are available. Without it, Build with AI always builds a database.
For more information, refer to NocoAI project creation.
After NocoDB creates the project, the Project Dashboard opens. Add tables and data from there.
Last updated on